在Photoshop中制作紫色火焰文字效果,首先需要创建一个新的工作文档,并选择一个合适的背景颜色,这样可以使紫色火焰更加醒目。接着,使用文字工具输入想要的文本,并选择一个适当的字体和大小,以便于后续的编辑和调整。紧接着,可以通过图层样式为文字添加外发光效果,选择一个接近紫色的色调。
然后,利用Photoshop内置的火焰滤镜或者使用特定的笔刷工具手动绘制火焰形状,根据需要调整火焰的大小、形状和方向,使其环绕在文字周围。在调整颜色时,可以使用色阶或色彩平衡工具,调整火焰的色调为紫色,同时注意保持火焰效果的自然和流动性。
此外,可以通过增加一些光晕或微粒效果来增强文字的视觉冲击力和艺术感。最后,适当调整整体图像的对比度和亮度,确保文字清晰可见,同时火焰效果也能突出展示。通过这些步骤,就能在Photoshop中创作出迷人的紫色火焰文字效果。


ps制作梦幻的紫色火焰效果文字方法步骤
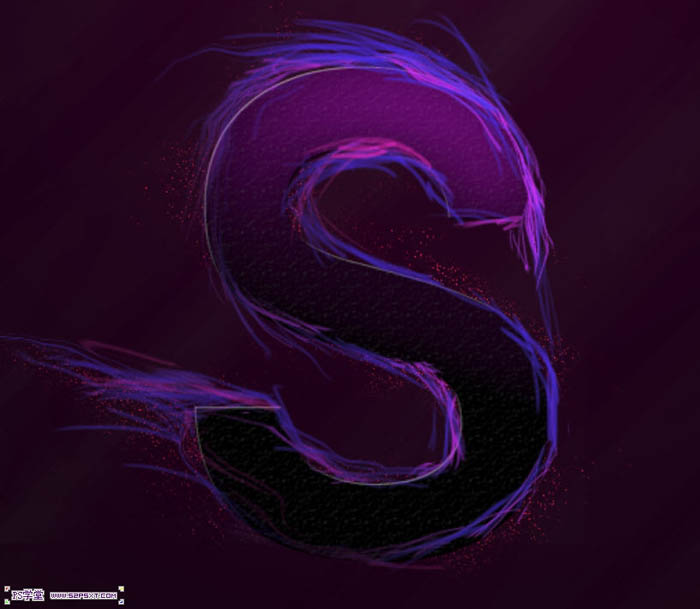
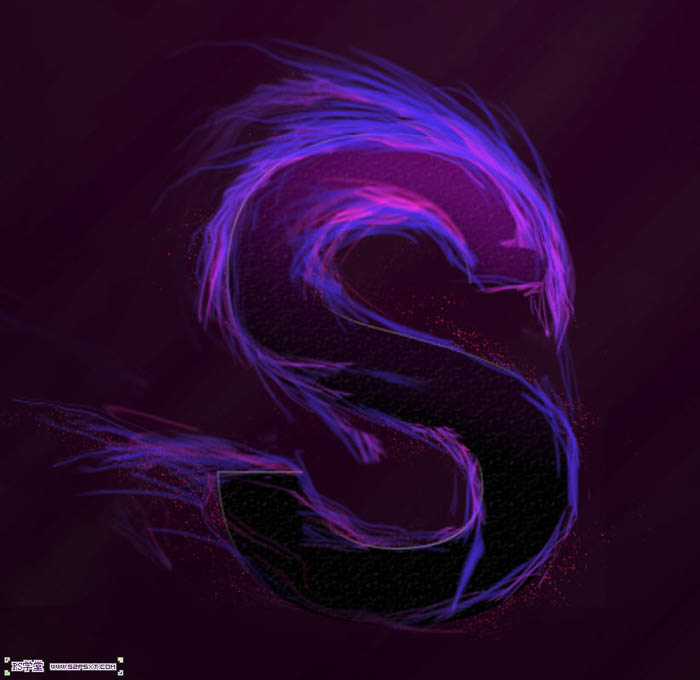
效果图:

操作步骤:
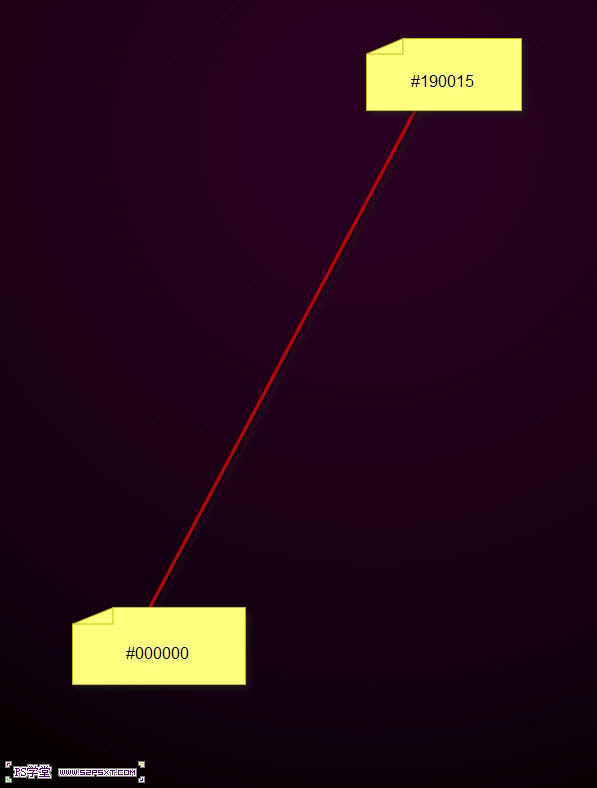
一、新建700*1000p大小的文档,黑色背景,我们用个渐变工具拉个渐变,颜色从#000000到#190015。
二、我们新建图层,用白色的柔软画笔随意的点几下,大小自己把握,大致如下。

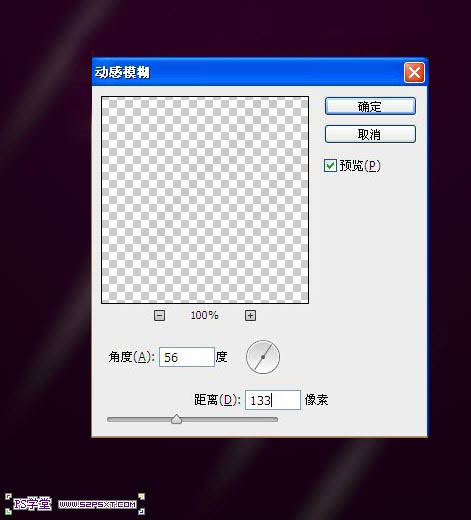
三、执行滤镜--模糊--动感模糊,角度56度,距离133px。(这个是原教材的数据,我试了下,不能达到效果,于是先高斯模糊30px左右,再动感模糊,将距离加大)
四、再执行一次动感模糊,这次我们将角度改为-63,距离不变。


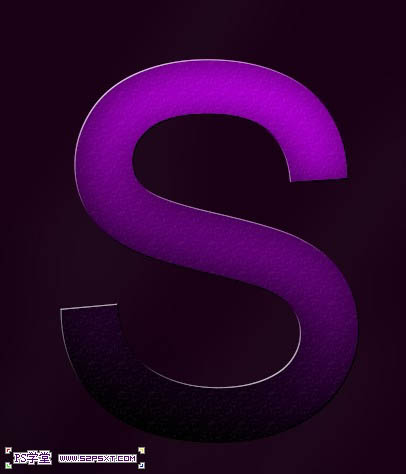
五、用你喜欢的任意字体,打上你想打上的字母。

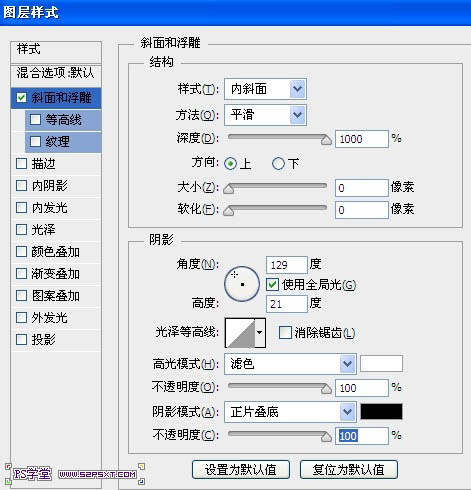
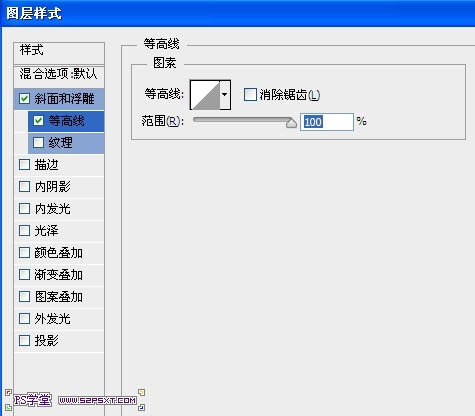
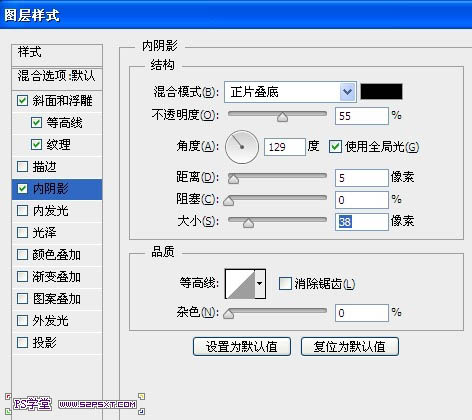
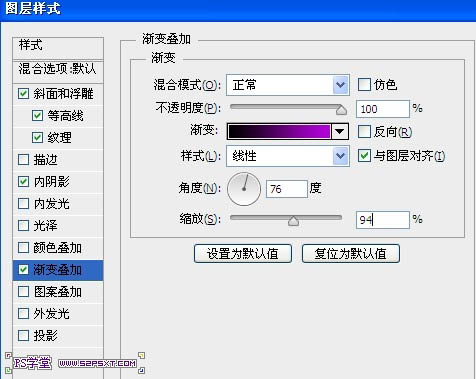
六、给字体图层添加图层样式。
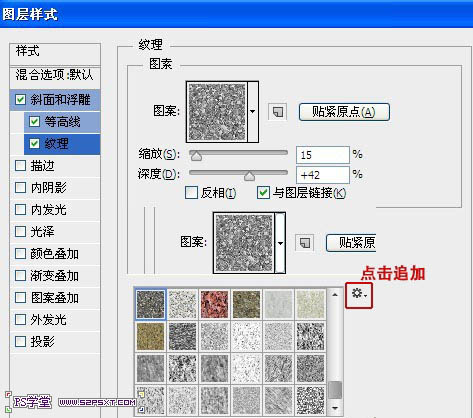
纹理:缩放15%,深度42%。这里的纹理我们可以用系统自带的,追加填充纹理即可。
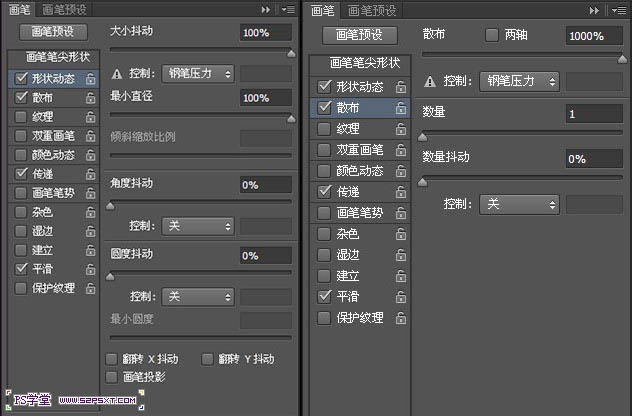
七、我们新建图层放在字体图层下方,用红色1px大小的硬画笔,将画笔稍微设置一下,这个地方也可以自己发挥,随意涂抹成下面的效果。


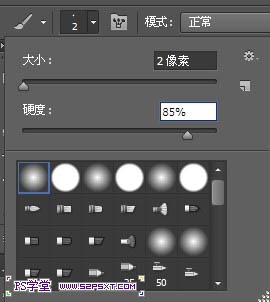
八、我们选择2px大小的画笔,硬度85%,颜色就只能自己把握了,随意的画出如下效果。
九、继续画多一点的线条,多参杂同色系但有差异的色彩,也可以几个图层的摆放位置,做出如下效果。
十、打开素材提供的火素材,勾出如下部分。
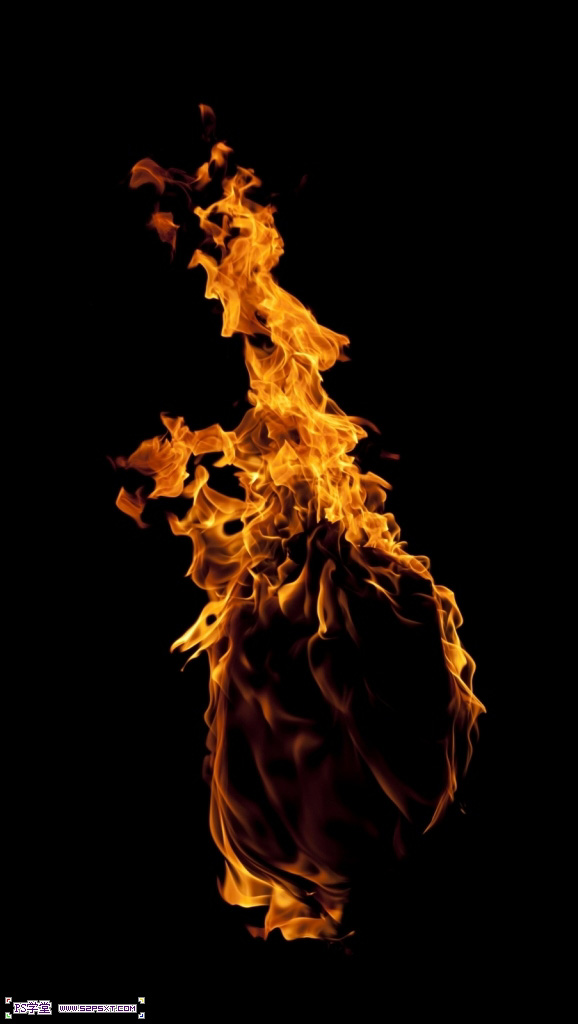
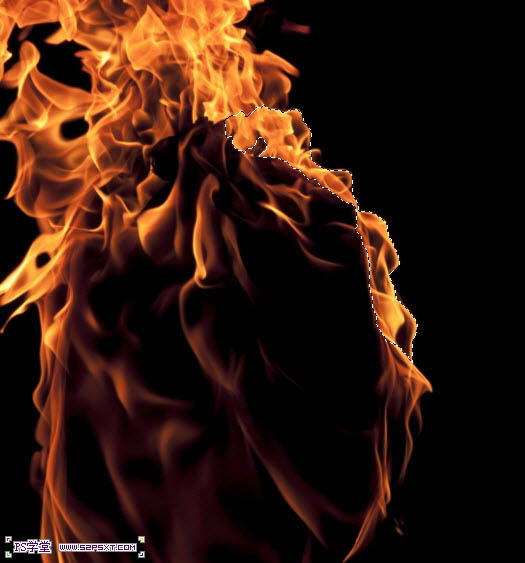
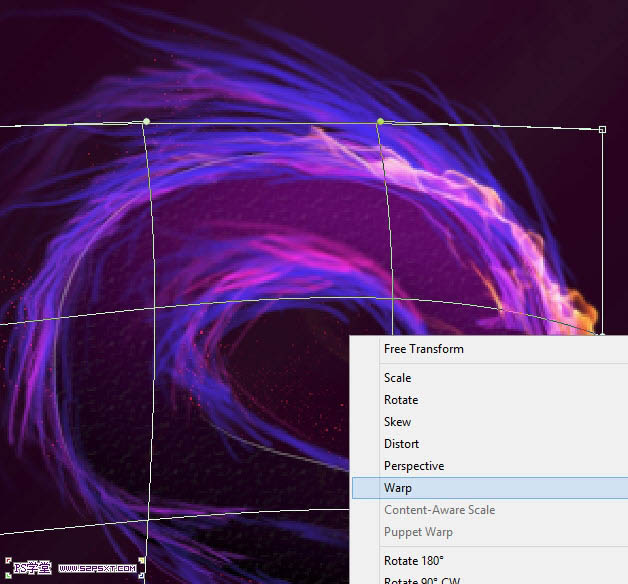
十一、复制得到新图层,我们将图层拉入文档中,放在字体图层上方。crtl+T变换,右击选择变形。。调整火的部分,使其和字体融合在一起。
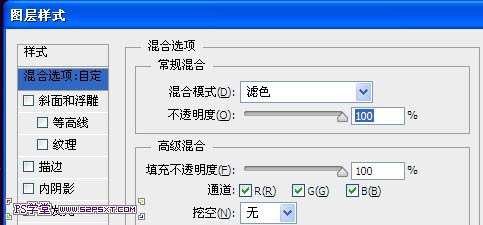
十二、双击火图层,将图层样式改为滤色。
十三、复制火素材,我们用液化工具来改编下火的整个走势。

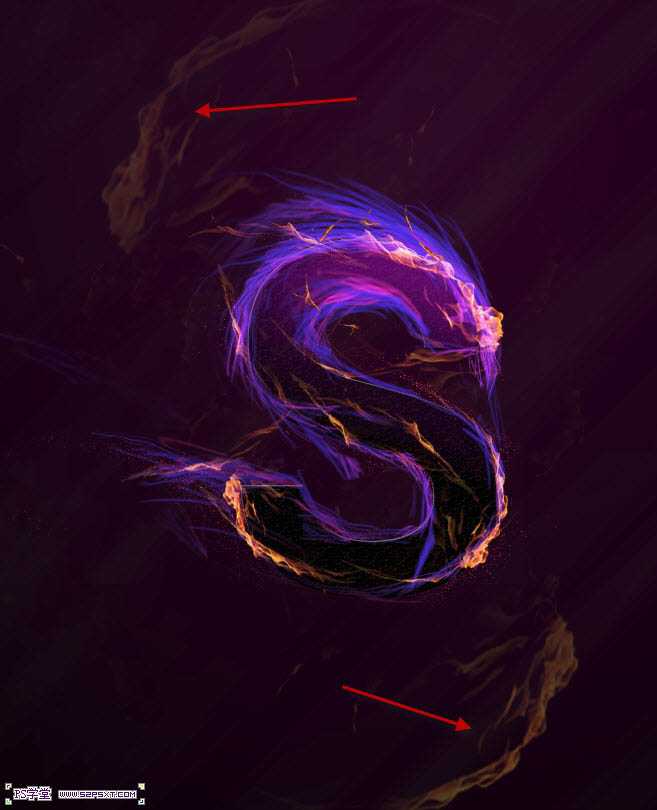
十四、复制上一步液化后的火图层,多复制几次,分别将它们摆放在字体上,大致效果如下。

十五、当然,你也可以加点在我们的背景上,适当降低不透明度。
最后Ctrl + Shift + Alt + E盖印图层,复制一层,改变图层模式,适当降低不透明度。再智能锐化,调整色彩。
完成:
整个效果就制作完成,比较炫酷,同学们跟着来学习一下吧,相信你可以做的更好。