在摄影后期处理中,人物的肤质和肤色常常是摄影师和修图师关注的焦点。尤其在人像摄影中,清晰锐利的相机往往会捕捉到皮肤的细小瑕疵。为此,Photoshop(简称PS)成为了修图师的首选工具,其中的磨皮和美白功能能够帮助他们使人物肌肤看起来更加光滑、自然和有光泽。通过PS,我们可以有效地减少或消除皮肤上的斑点、皱纹和其他小瑕疵,同时还可以提高肤色的亮度和均匀度。这不仅仅是为了追求完美,更多的是为了呈现出最佳的画面效果。接下来,我们将深入探讨如何使用PS为人物进行磨皮美白,无论您是初学者还是经验丰富的修图师,都可以从中受益。
ps人物光滑磨皮美白教程
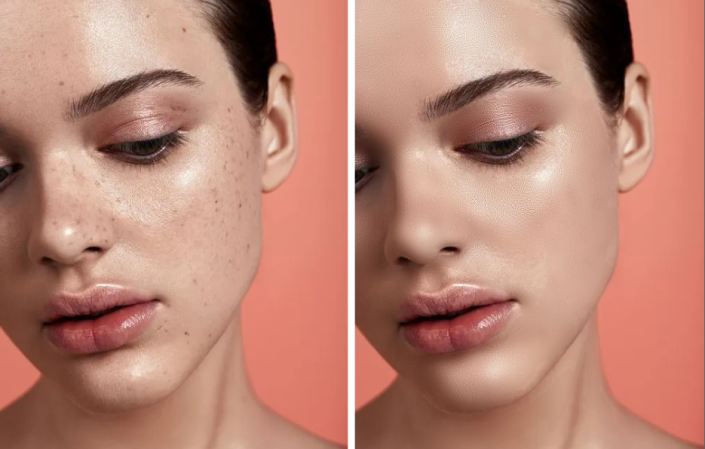
效果图:
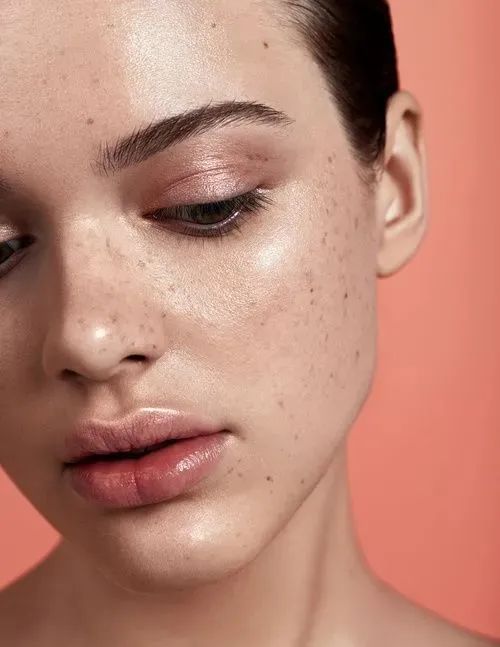
素材:
操作步骤:
第1步:
打开ps,打开人物素材
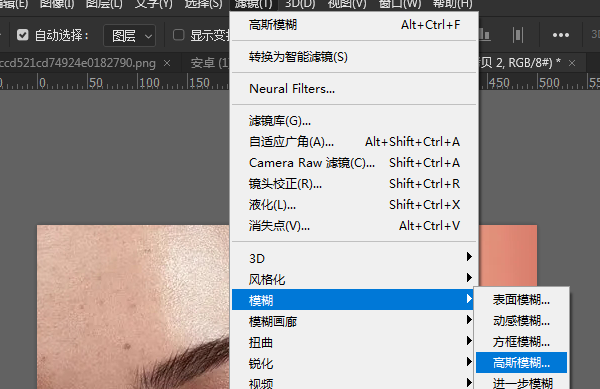
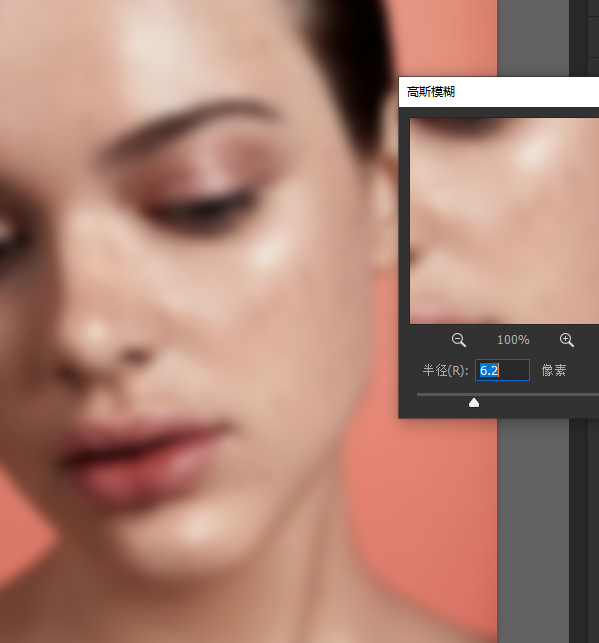
第2步
Ctrl+J复制一层,滤镜-模糊-高斯模糊
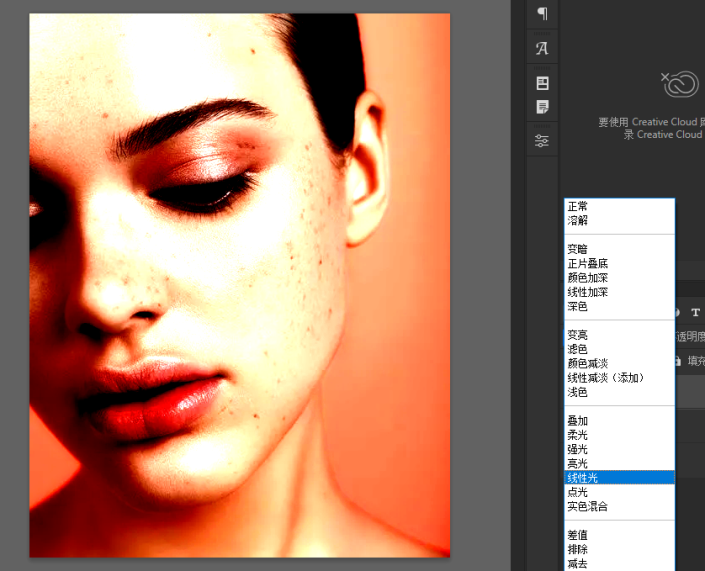
第3步
复制一层背景图层,拖到所有图层最上面,图层混合模式改为线性光
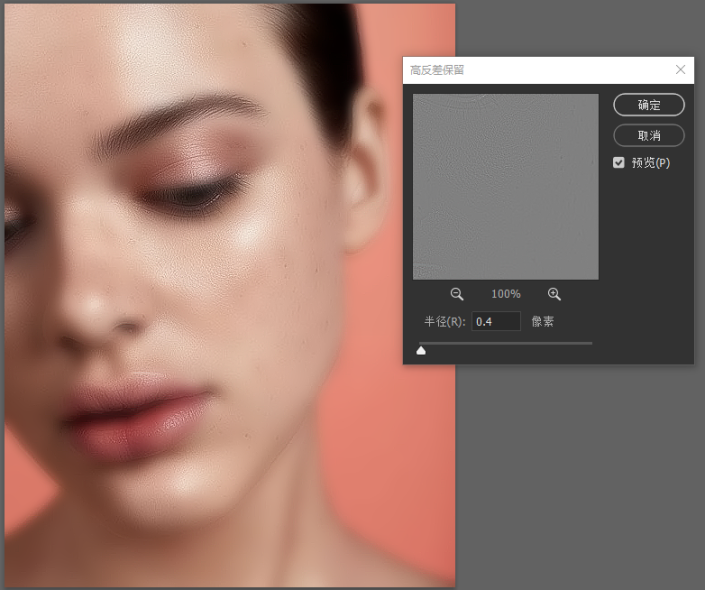
第4步
执行滤镜-其他-高反差保留,Ctrl+I反相

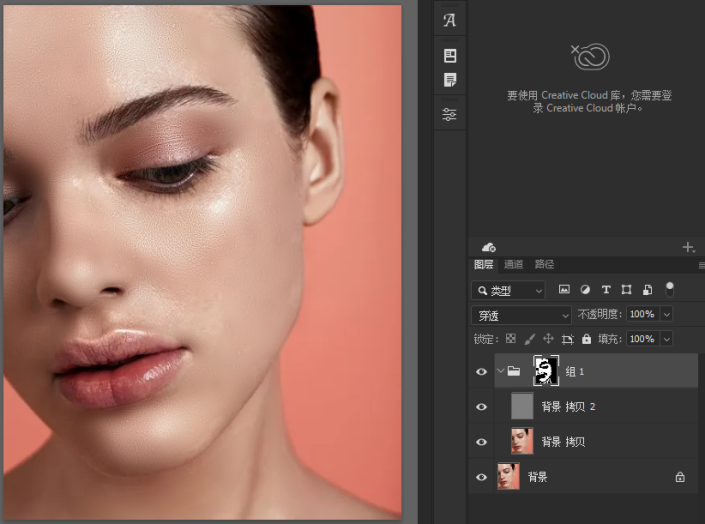
第5步
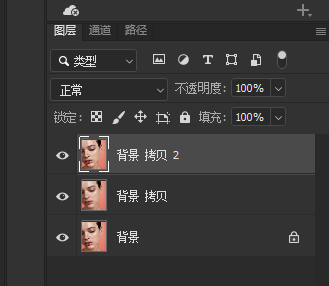
将背景拷贝和背景拷贝2编组,按住Alt点击添加蒙版


第6步
使用白色画笔工具,擦皮肤区域
完成: