Adobe Photoshop中的街道倒影效果能够为城市风光摄影带来独特的视觉冲击,仿佛雨后的街道上留下了完美的倒影,融合了现实与幻想的美景。这种效果通常利用图像的反射和对称特性,通过适当的模糊和淡化技巧,模拟出水面上的自然倒影。而在Photoshop中,制作街道倒影并不复杂,只需掌握一些基础的操作和工具。不仅能够为平常的街景照片添加新的元素和魅力,还可以增强照片的艺术感和深度。下面,我们将详细指导如何在Photoshop中创建出这种迷人的街道倒影效果,使你的作品更具吸引力。
PS街道添加超级逼真水坑倒影效果方法
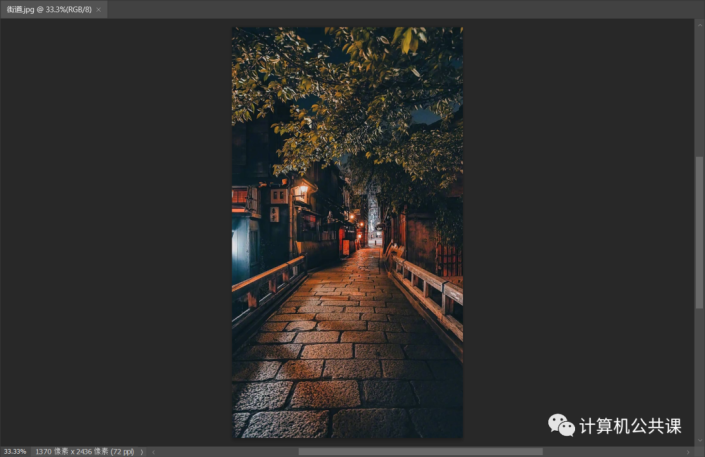
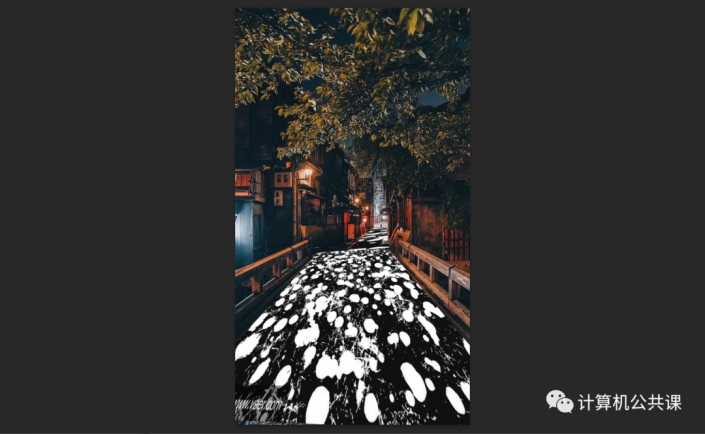
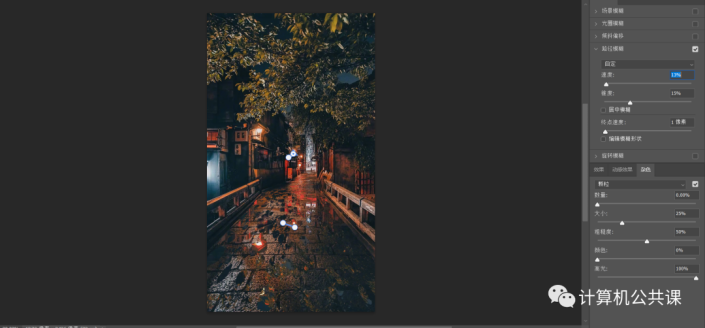
效果图:

操作步骤:
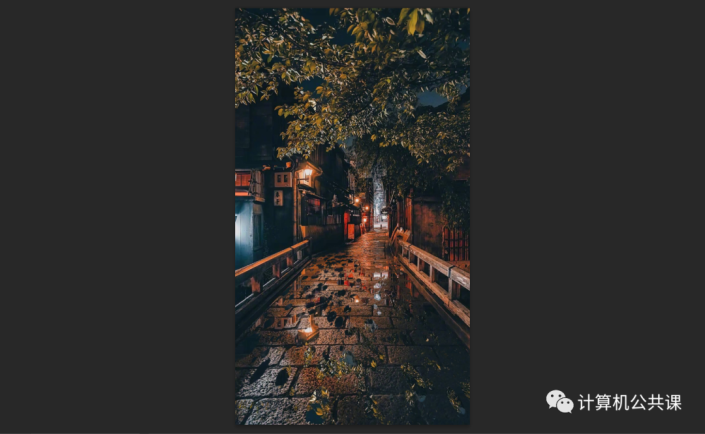
step 1:导入一张街道照片
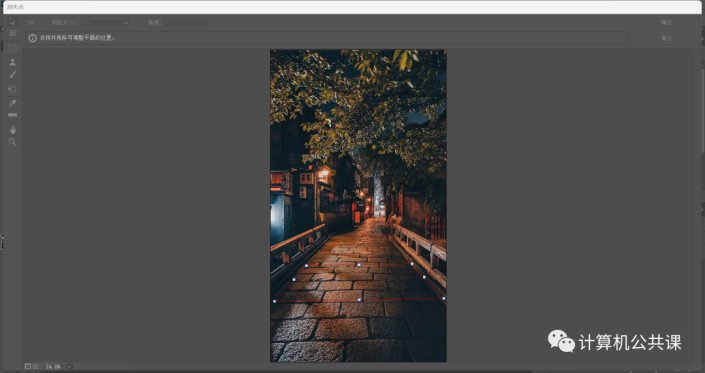
step 2:新建一层,选择滤镜-消失点,进入面板(如上图所示,若是红线则不能用,需要进行调整)
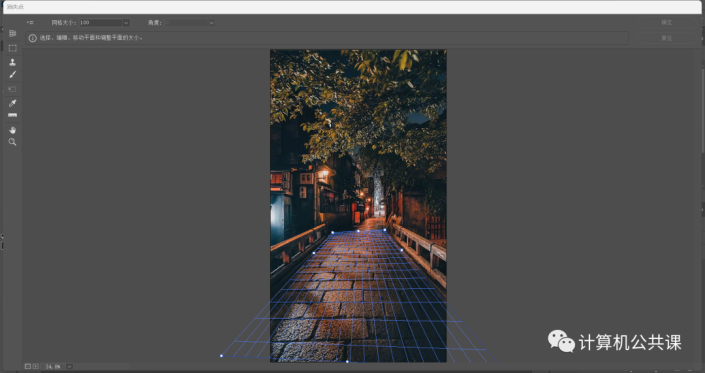
step 3:如上图所示,若是蓝线则可以使用,调整至铺满整个街道
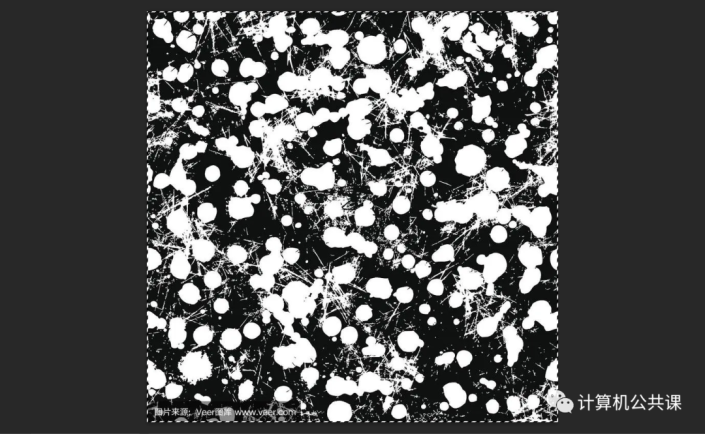
step 4:导入一张带有黑白斑点的图片
step 5:全选黑白斑点素材,CTRL+c复制,返回街道界面,选择滤镜-消失点,进入消失点界面后CTRL+v粘贴
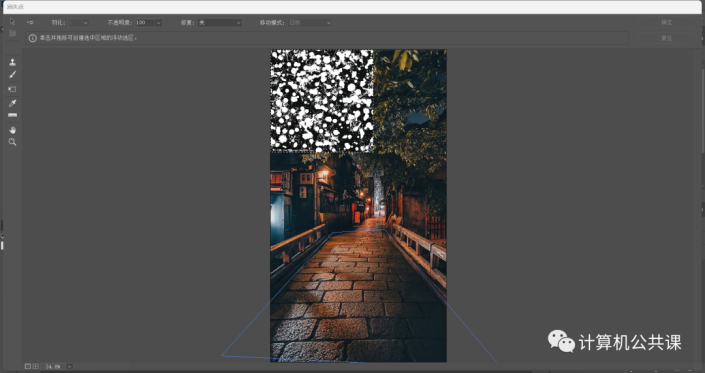
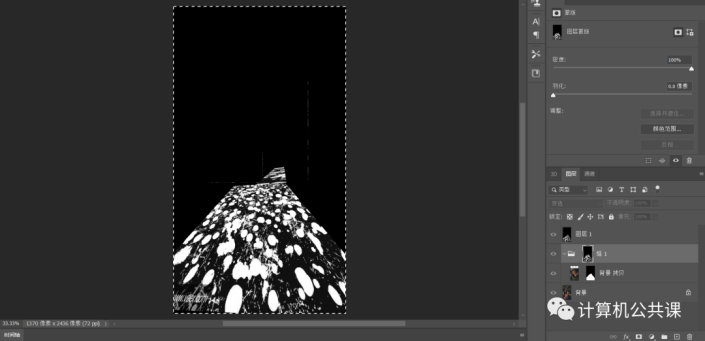
step 6:将黑白斑点素材拖拽到定义好的透视面,使其铺满整个街道
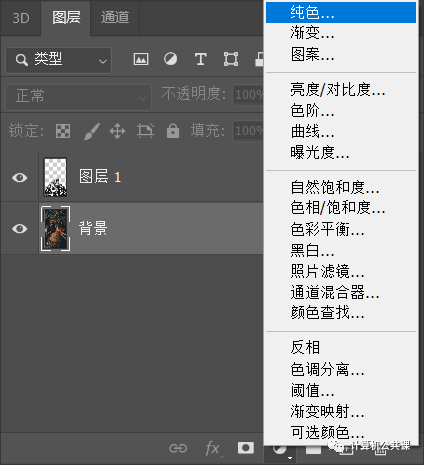
step 7:选择纯色-用黑色填充

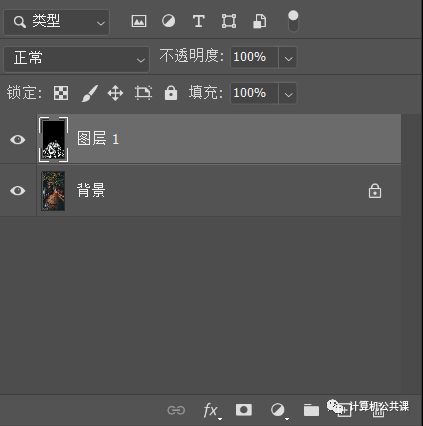
step 8:合并两个图层
step 10:用多边形套索工具将街道选出
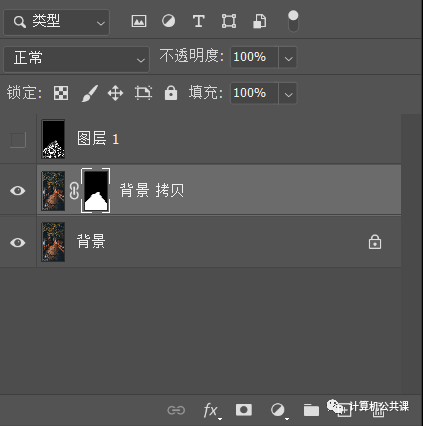
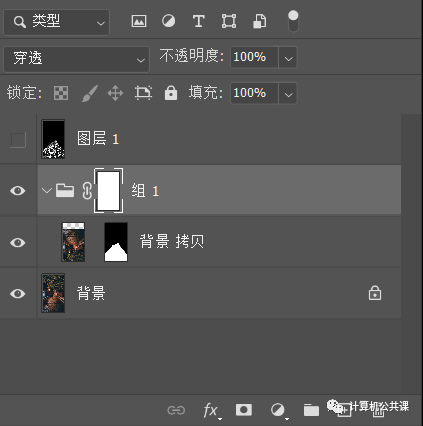
step 11:复制背景图层,再直接点击蒙版,再取消图像和蒙版之间的链接
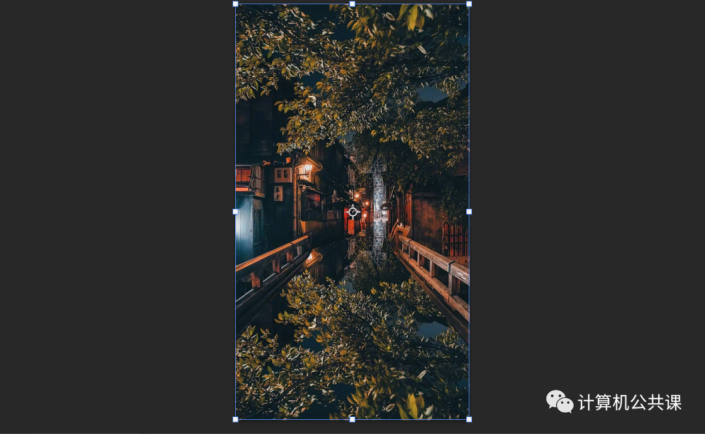
step 12:点击图像,通过自由变换-垂直翻转,将图像反转,并适当调整位置
step 13:CTRL+g建立组
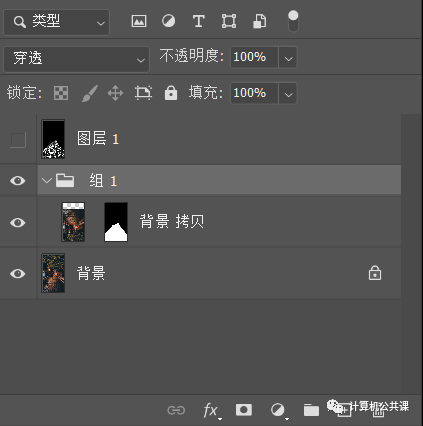
step 14:给组建立蒙版
step 15:全选最上面的黑白斑点素材图层,CTRL+c复制,再取消选择,按住ALT再单击白色蒙版,进入该白色蒙版,再CTRL+v粘贴,取消选区
step 16:关掉黑白斑点素材图层的小眼睛
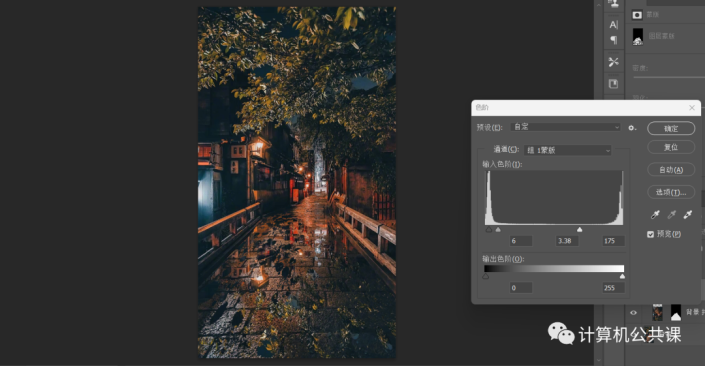
step 17:CTRL+l调出色阶调整
step 18:选择渐变映射,选择白色滑块并更改其颜色至适当颜色(例如,棕色)
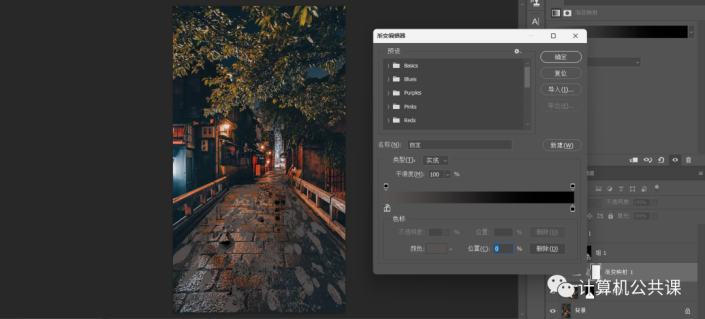
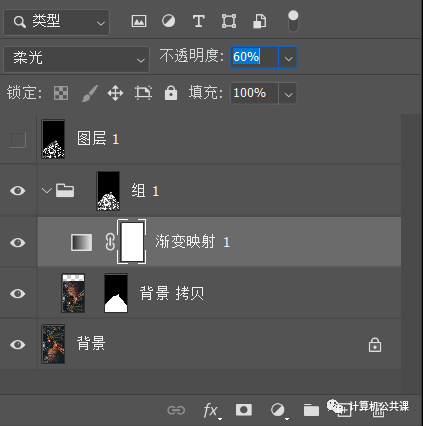
step 19:更改叠加模式与不透明度
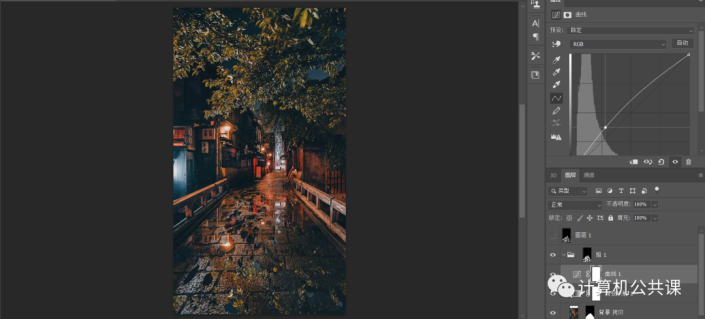
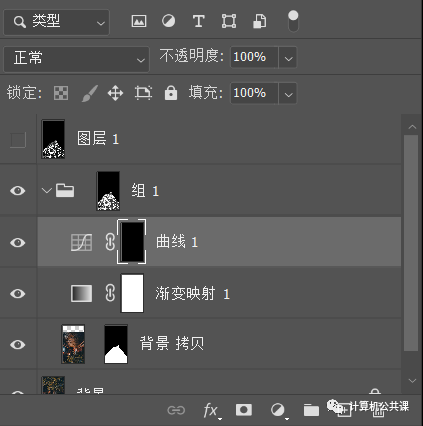
step 20:根据需求调出曲线、自然饱和度等进行调整

step 21:右击背景图层,转化为智能对象,选择滤镜-模糊画廊-路径模糊,适当调整
完成:
完成!