win7系统占据了微软系统的半壁江山,有些朋友在使用过程中不知道win7摄像头驱动如何安装。所以小编给大家带来了win7安装摄像头驱动的小方法。
工具/原料
系统版本:windows7系统
品牌型号:联想GeekPro 2020
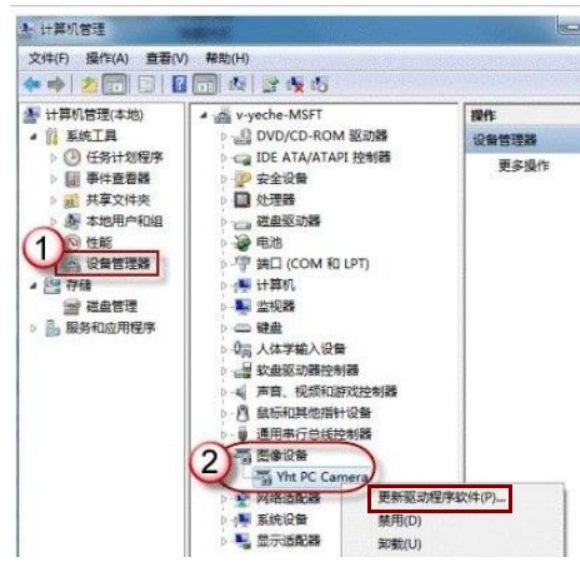
1、右击电脑上的计算机,选择管理

2、选择设备管理器,右击图像设备,选择更新驱动程序
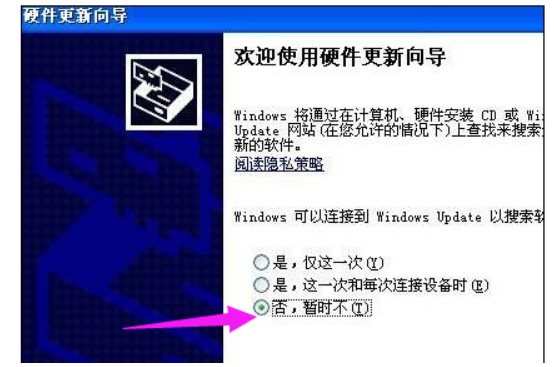
3、弹出向导,点击-否,暂时不, 在选择-下一步。选择“从列表或指定位置安装”然后点“下一步”。
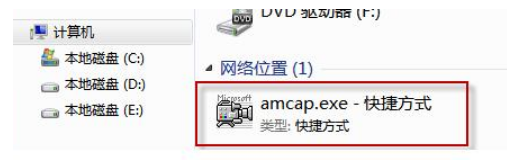
4、将“在搜索中包括这个位置(o):”前面的“勾”打上,然后通过“浏览”找到你摄像头在电脑里的本地位置,如:在D:\摄像头驱动 。然后点“下一步”,一直完成安装。
总结
1、打开电脑的管理。
2、找到图像设备。
3、安装摄像头。