很多朋友在更新升级win11系统后都发现该系统只能安装英文,但是英文版的系统使用起来比较麻烦,对于看不懂英文的朋友来说更是难上加难。因此今天小编就给大家带来了win11设置中文系统的教程,一起看看吧。
win11怎么设置中文系统
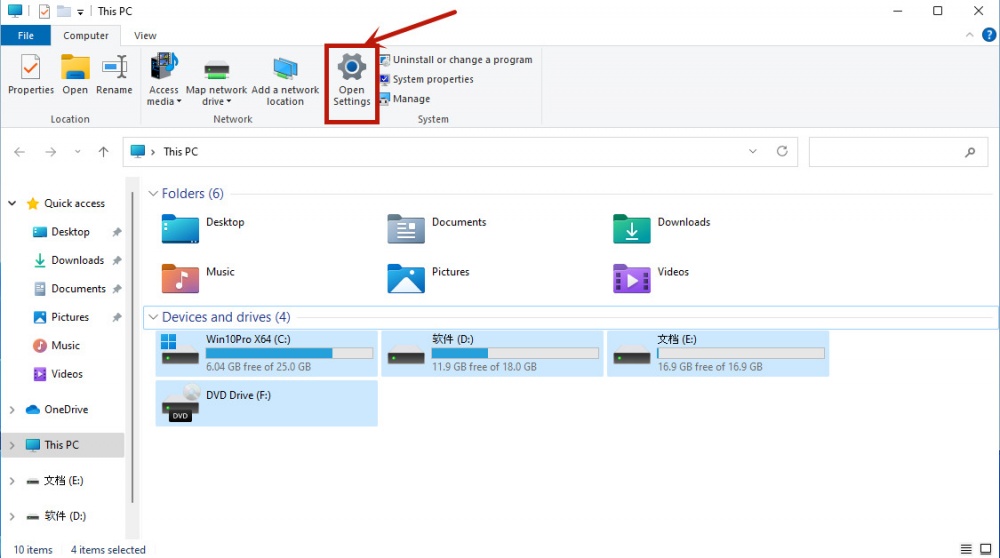
1、首先我们在桌面上找到“this PC”图标,这就相当于我们的计算机,双击打开他。

2、在上方工具栏中找到“open settings”点击进入,如图所示。
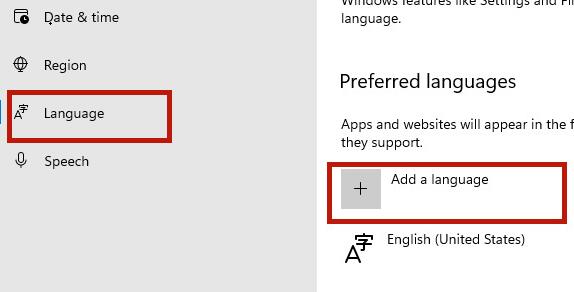
3、这样我们就能进入设置界面,然后点击“time&language”,再点击左边栏中的“language”。

4、进入后点击左边的language进入语言界面,并找到其中的“add a language”,点击它。
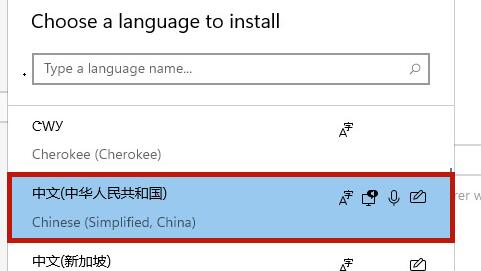
5、这样就能打开语言下载列表了,在其中找到“中文(中华人民共和国)”,点击“next”。
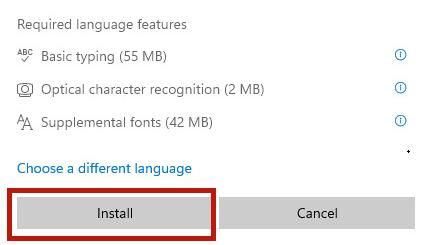
6、在弹出的对话框中勾选所有可以勾选的选项,点击“Install”,如图所示。
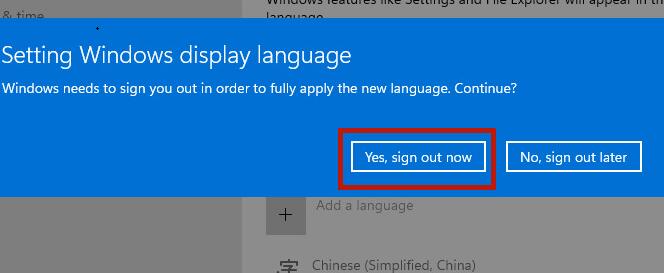
7、最后我们选择“Yes,sign out now”,注销系统,再重启电脑就能使用中文系统了。
以上就是win11设置中文系统的教程介绍了,目前中文系统还存在一些bug,大家可以谨慎使用。想知道更多相关教程还可以收藏教程之家。