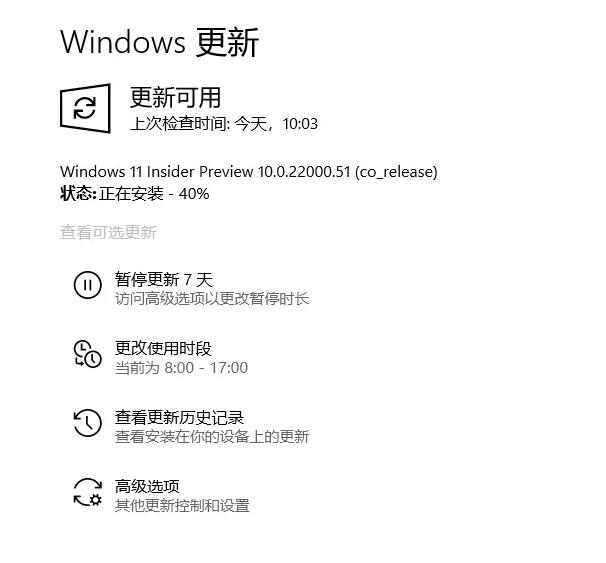
在准备安装WIN11之前,先用微软官方的Windows PC Health Check软件检测一下,如果电脑直接显示可以安装就不用花这么大力气了。直接加入DEV渠道Windows预览体验计划后点击“更新”按钮就行。
但是如果您的电脑配置较低,不满足更新条件,电脑是连Windows预览体验计划DEV渠道都无法加入的,这就意味着你连接收微软推送的途径都没有。所以这个时候就需要第一步:
改注册表强行加入DEV渠道
具体操作步骤如下:
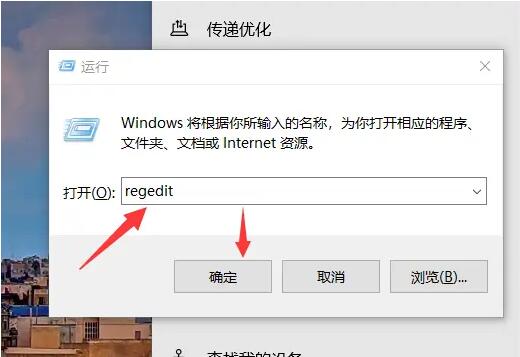
(1)按住”WIN“+R,出现下图的对话框,并在其间输入”regedit“后回车。
(2)按照下图指示依次点击打开图中标红的文件夹。

HKEY-LOCAL-MACHINE

SOFTWARE
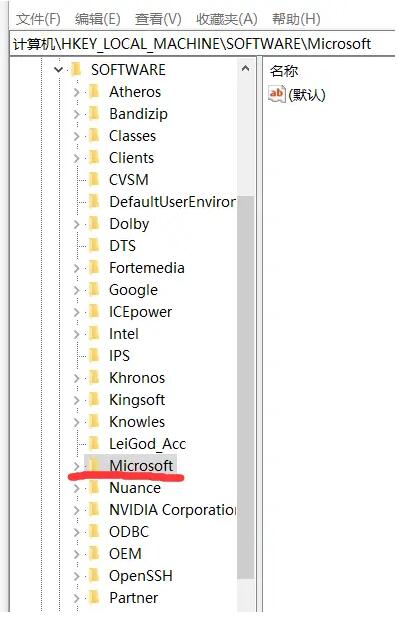
Microsoft
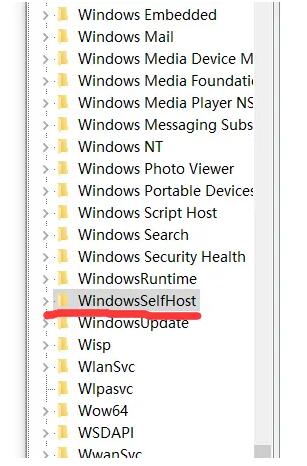
Windows Self Host
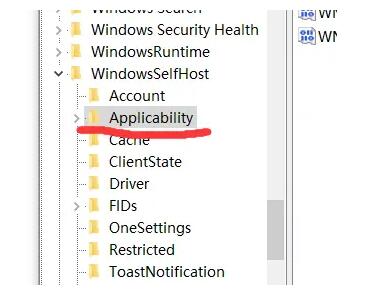
Applicability
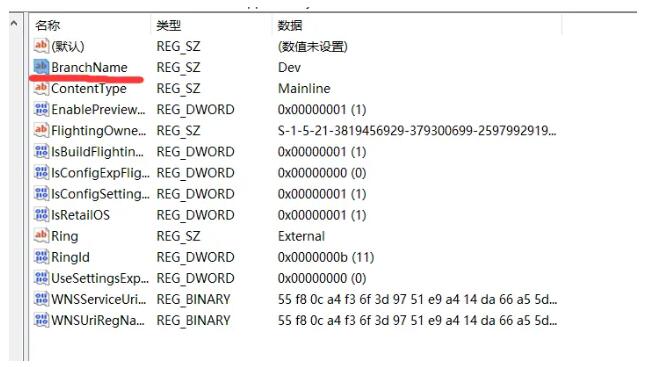
(3)点开Applicability后,右侧会出现下图所示内容。将“BranchName”的数值数据改为“Dev”并点击确定。

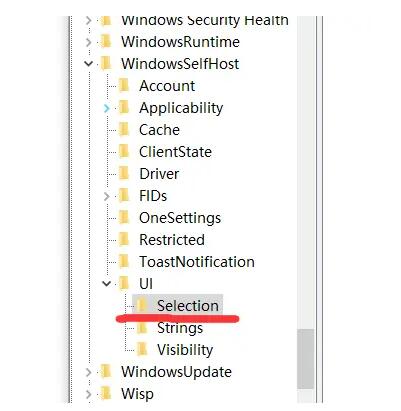
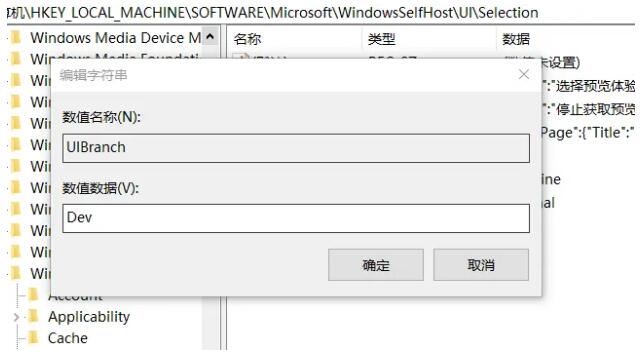
(4)同理,再将WindowsSelfHost下的UI-Selection打开。将右侧“UIBranch”的数值数据也改为“Dev”后点击确定。

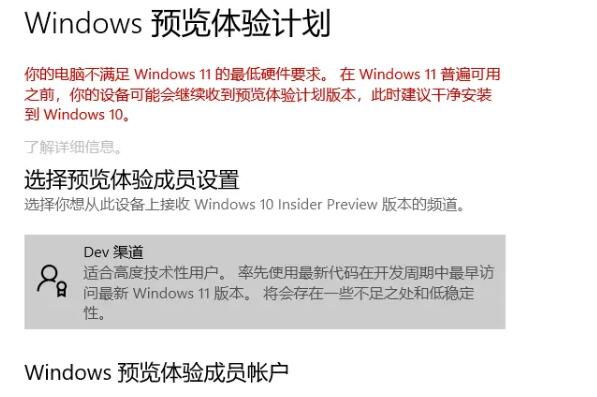
(5)关闭窗口,重启计算机后再次点击“设置-Windows更新”中的更新按钮,即可接收到WIN11更新推送。为保险起见,可以查看一下“Windows预览体验计划”那一栏是否显示如下图所示。出现的红色字可忽略不计!
接下来最难解决的就是老旧电脑很难通过BIOS开启TPM2.0,甚至有些电脑根本就缺少这个安全模块。如果不进行任何操作,在下载更新到8%左右时电脑会报错:“缺少TPM2.0,WIN11安装失败”。基于我也尝试过很多网上说的其他办法:改注册表利用Bypass跳过验证,安装时运行一个什么程序,甚至是自己做PE(那何必接收微软官方推送?)等等,但是在我的这台老年电脑上通通没起作用。最终,在一个贴吧老哥的留言中找到了正确答案。我们接下来需要做的是:
删除一个系统文件,跳过TPM2.0验证
具体操作步骤如下:
(1)
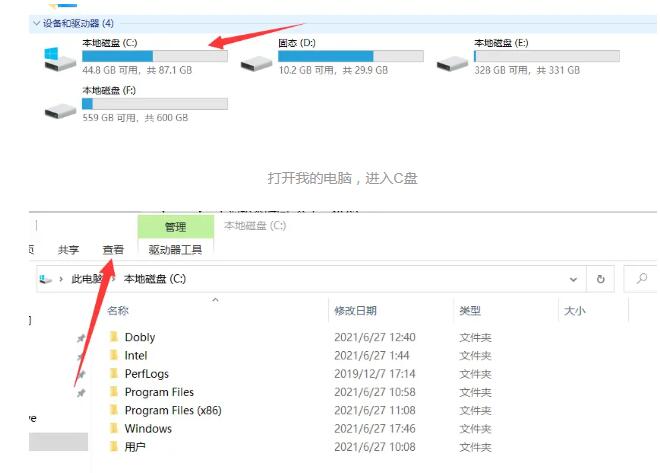
打开我的电脑,进入C盘

点击上方的“查看”

将“隐藏的项目”勾选中
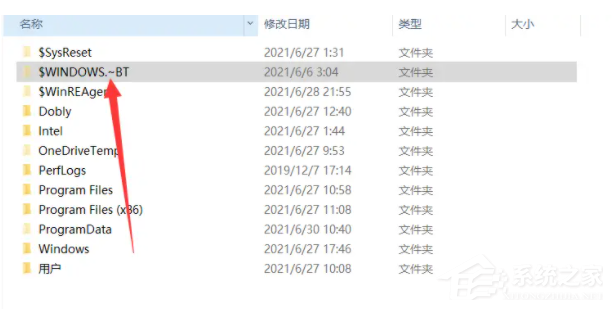
(2)勾选中“隐藏的项目”后便可以看到“WINDOWS.~BT”文件夹。点击进入后再进入“Sources”文件夹。找到“AppraiserRes.dll”文件并且删除。文件夹里有很多名字很相像的文件,千万不要删错了!
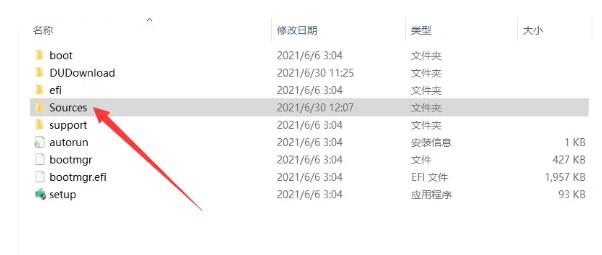
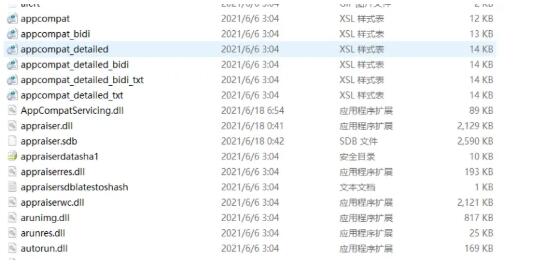
很多名字相似的文件,一定看清名字!(需要删除的文件已经被我丢入了回收站,所以这里看不到AppraiserRes.dll)

要删除的是这个.dll文件
(3)重启计算机,再次点击“更新”按钮,下载安装时就不会报关于TPM2.0的错了!
WIN11还是处于起步阶段,DEV渠道接收到的更新特点就是:不稳定、BUG多。大家有空闲的备用机还是可以尝试一下~但是最好还是别拿自己的主力机或者学校、公司的共用计算机来练手了。据说目前为止,尽管是微软官方推送的WIN11,但BUG依然很多,十分影响实际体验。