win11系统发布到现在也过去好几个月了,现在win11系统也越来越完善了,我们在使用电脑的时候经常会将重要的文件存储起来,甚至win11还可以实行分区加密,但还有很多用户不知道win11系统分区加密,下面小编就给大家带来win11系统分区加密的方法.一起来看看吧。
工具/原料:
1、操作系统: windows11
2、品牌型号:联想小新笔记本电脑
3、软件版本:无
Win11系统分区加密的方法
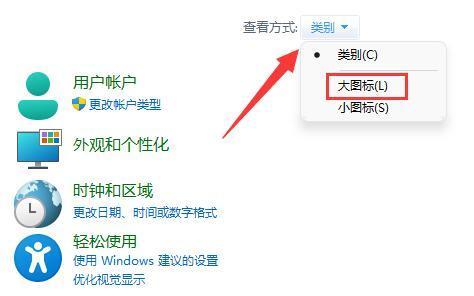
1、在系统中打开系统中的“控制面板”。

2、接着将右上角查看方式改为“大图标”。
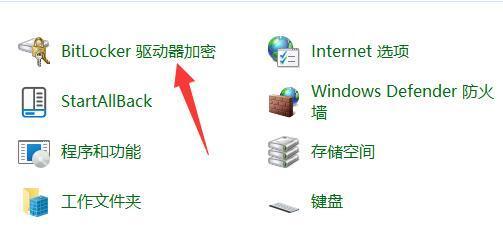
3、然后打开其中的“bitlocker驱动器加密”。
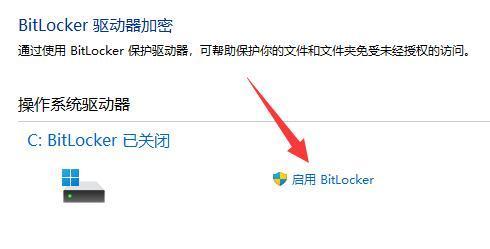
4、打开后,在下方找到想要加密的分区,点击“启用bitlocker”。
5、接着设置解锁密码。
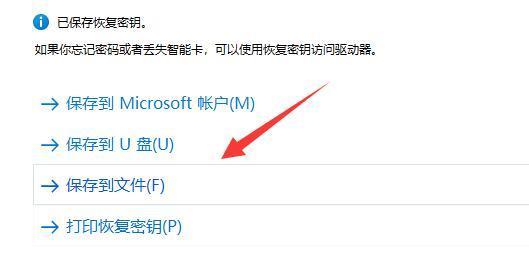
6、设置完成后保存密码避免遗忘。

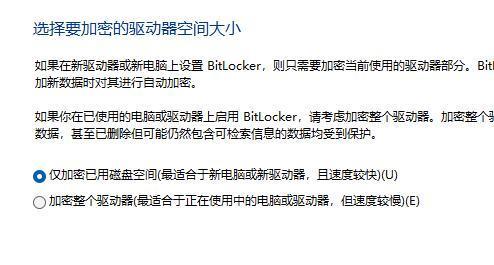
7、接下去就是选择加密的大小,默认即可。
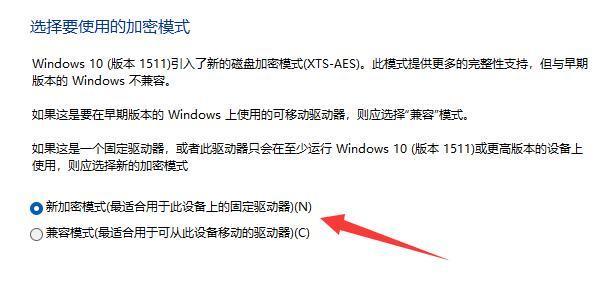
8、再选择加密模式,同样保持默认。
9、最后点击“开始加密”,等待加密完成就可以了。(分区越大加密速度越慢)

总结
控制面板--bitlocker驱动器加密--启用bitlocker--设置密码--默认加密大小---开始加密