微软新出的全新操作系统win11已经有一段时间了,有很多用户已经安装了新系统win11,但使用过程中会遇到电脑假死严重的情况,让用户的体验大打折扣,那么当电脑假死情况严重,即电脑win11假死严重怎么解决 ?今天小编就给大家分享一下电脑win11假死严重的解决方法教程,大家一起来看看吧。
工具/原料:
1、操作系统: windows 11
2、品牌型号:联想ThinkBook 13x
3、软件版本:系统 12.6.49.2290 下载地址:http://www.xiaobaixitong.com/
电脑win11假死严重的解决办法:
1、当我们遇到win11假死严重时,首先需要先进入安全模式当中。

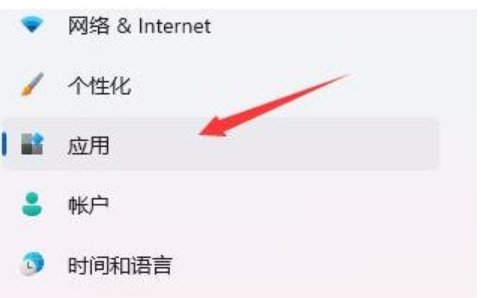
2、进入安全模式后进入设置,然后点击左侧的“应用”。
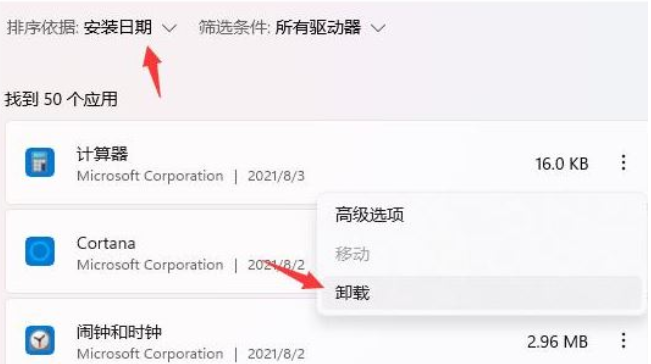
3、此时我们找到“应用和功能”选项。

4、我们将排序改为安装日期,依次卸载掉上一次使用时安装的应用。
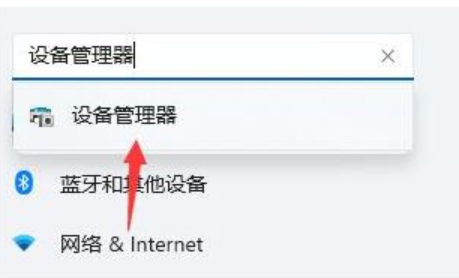
5、卸载完成后回到设置页面,我们搜索并打开“设备管理器”。
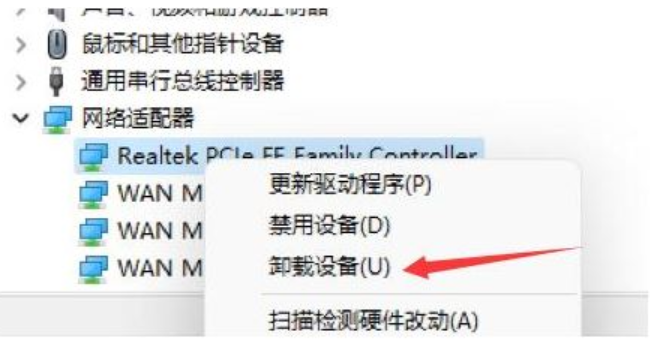
6、最后卸载上一次使用时安装的驱动程序即可。
总结
1、首先需要先进入安全模式当中,进入设置,然后点击左侧的“应用”。
2、找到“应用和功能”选项,将排序改为安装日期,依次卸载掉上一次使用时安装的应用。
3、卸载完成后回到设置页面,搜索并打开“设备管理器”,卸载上一次使用时安装的驱动程序即可。