目前win11系统已经发布了,很多小伙伴的电脑也急忙着升级win11系统了,但很多小伙伴的电脑升级不了win11系统,那么这个时候就需要安装系统才行,下面小编就给大家带来win11重装系统教程。
1.首先我们要下载win11镜像文件,在系统微信公众号回复windows11即可获取镜像文件。

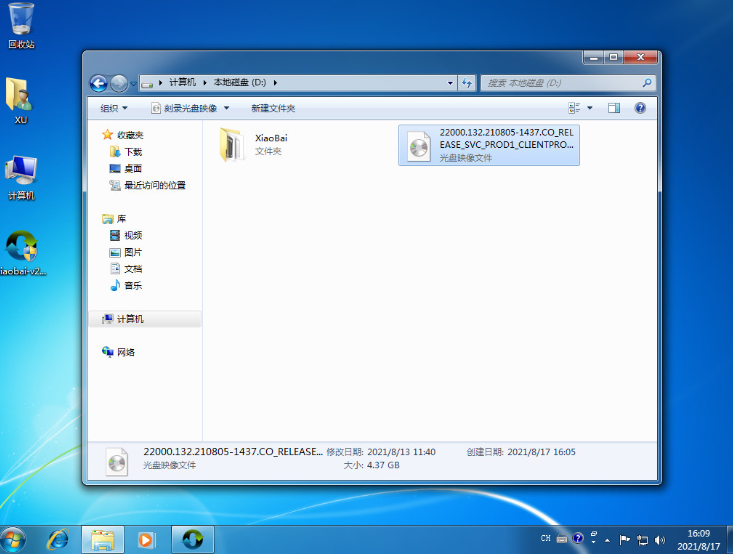
2.把下载的win11镜像放到其它盘内。
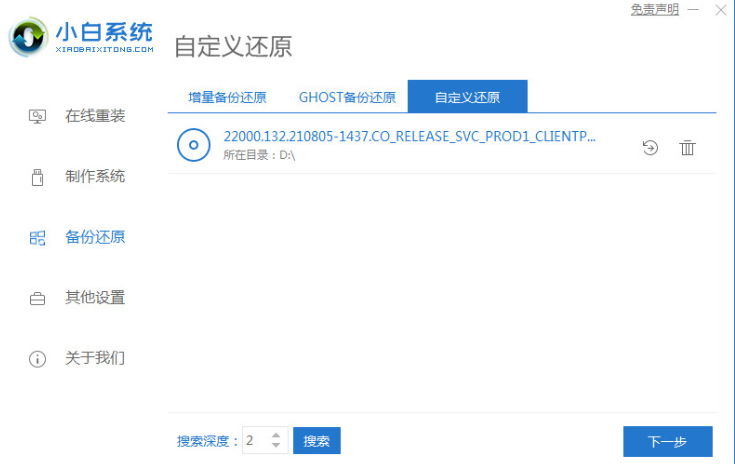
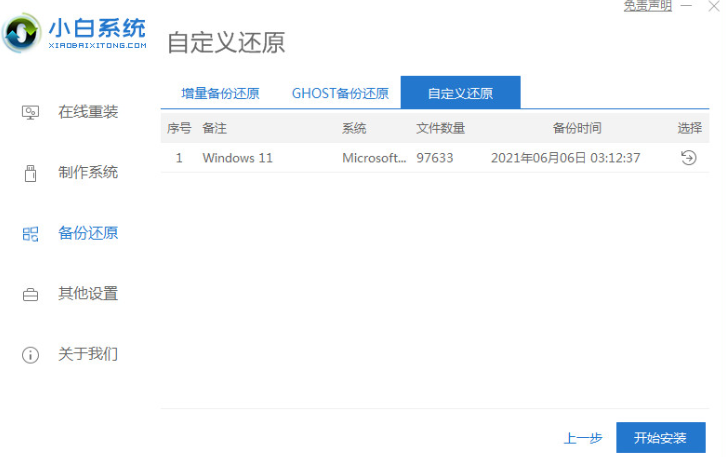
3.然后在电脑下载系统工具,打开运行,在备份还原中我们找到自定义还原功能,然后我们在搜索到的镜像文件当中找到win11镜像文件。
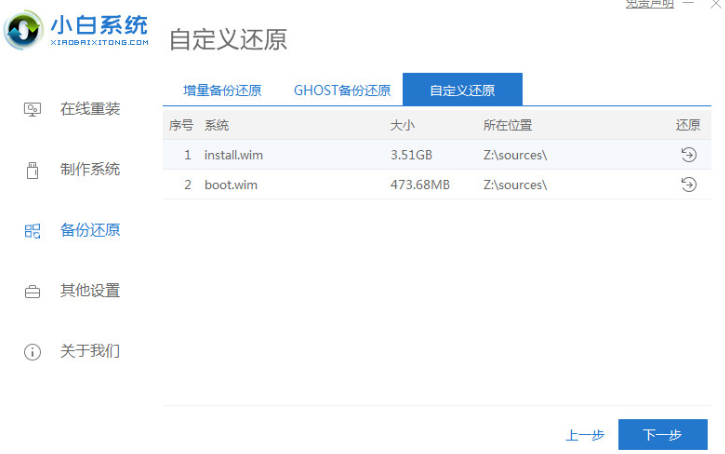
4.接着来到这个界面,我们选择install.wim进行下一步。
5.然后选择windows11系统,点击确定,还原该镜像文件。
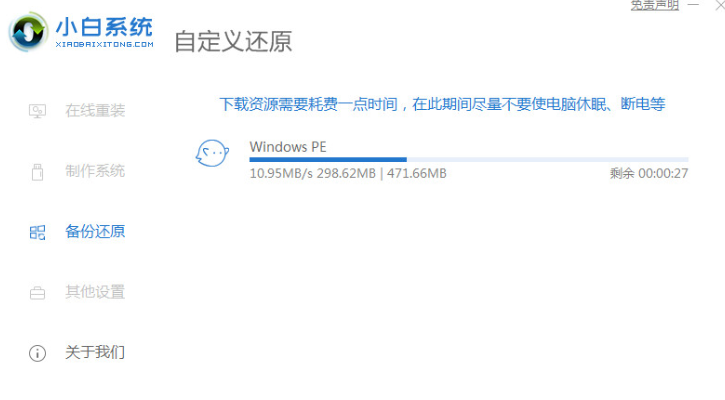
6.接着我们等待pe下载安装,耐心等待,下载完成根据提示点击重启即可。
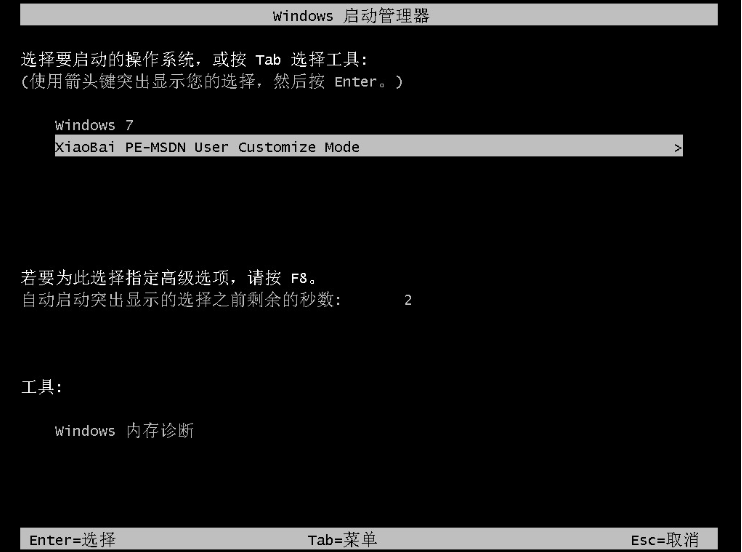
7.接着来到这个界面,我们选择第二个xiaobai PE,选择之后就会自动为我们安装win11系统了,安装完成根据提示点击立即重启电脑即可。
8.最后系统安装完成,我们来到win11桌面,进行分辨率等相关基础设置即可。