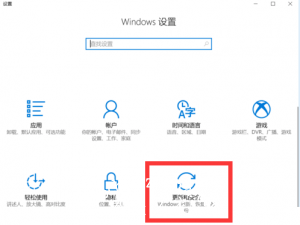
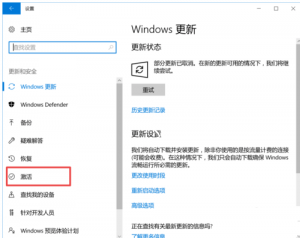
时长苦恼于电脑频繁的激活操作,同时也很在意为什么别人的电脑不像自己那样经常的需要系统的激活。所以小编今天就来告诉大家win10激活电脑该怎么操作
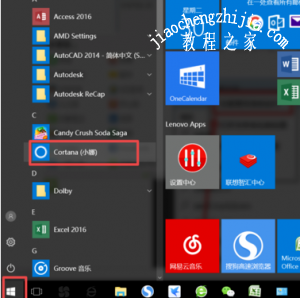
1)点击电脑左下角的“开始”图标,然后我们找到“小娜”,并点击

slmgr.vbs /upk
这时时候我们会发现窗口弹出“已成功卸载了产品密钥”的提示。

slmgr /ipk W269N-WFGWX-YVC9B-4J6C9-T83GX
这时窗口弹出了“已成功安装了产品密钥”

slmgr /skms zh.us.to
此时我们的电脑名称已更改为“”密钥管理服务计算机名成功的设置为zh.us.to”。方便后续的正式激活

slmgr /ato
此时系统便正式激活了