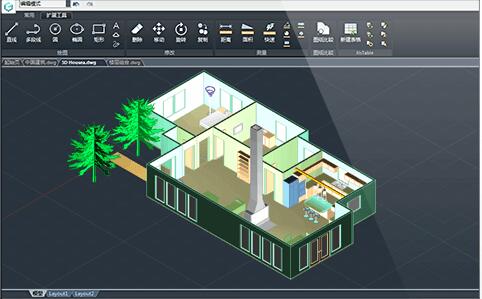
在本教程中,我们将深入探索如何在CAD软件中设置绘图环境参数,以优化设计流程和提高工作效率。首先,我们会从基本的界面布局设置入手,包括调整工具栏位置、定制命令面板和选择适合的视图模式。接着,我们将学习如何配置绘图单位和比例,这对于确保设计的精确度和可操作性至关重要。紧随其后的是网格和捕捉功能的设置,这有助于提高绘制精度和简化对齐过程。
我们还将探讨图层管理和颜色方案的配置,这对于保持绘图的组织性和可读性非常重要。我们的目标是通过详细的步骤和实用的技巧,使你能够在CAD中创建一个高效且符合个人习惯的绘图环境。无论你是CAD新手还是有经验的用户,这些设置技巧都将对你的设计工作产生积极的影响。


cad设置绘图环境参数方法
01. 一步三设
当我们打开CAD的时候,我们首先要设置绘图环境:
【1设】
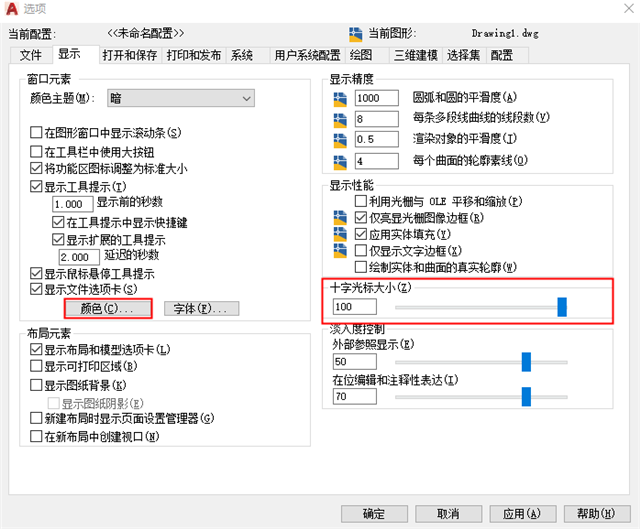
OP选项设置(保证英文输入法,输入OP,按空格确定)

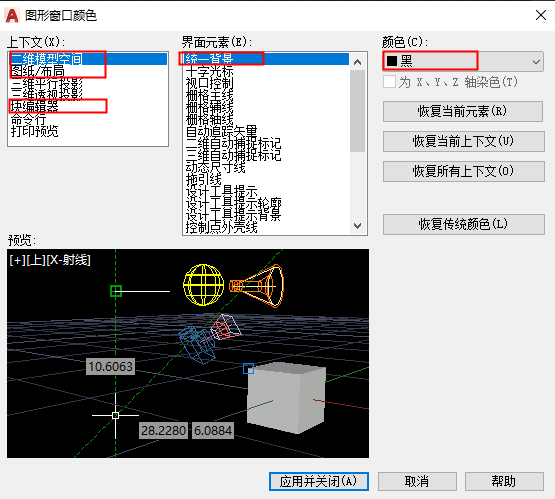
点击【显示】,把十字光标大小调节最大,并点击颜色,分别点击二维模型空间→图纸与布局、块编辑器,统一背景颜色,调成黑色,点击应用并关闭
点击【打开和保存】,并把文件保存版本调整为“AoutCAD 2004/LT2004 图形(*.dwg)”

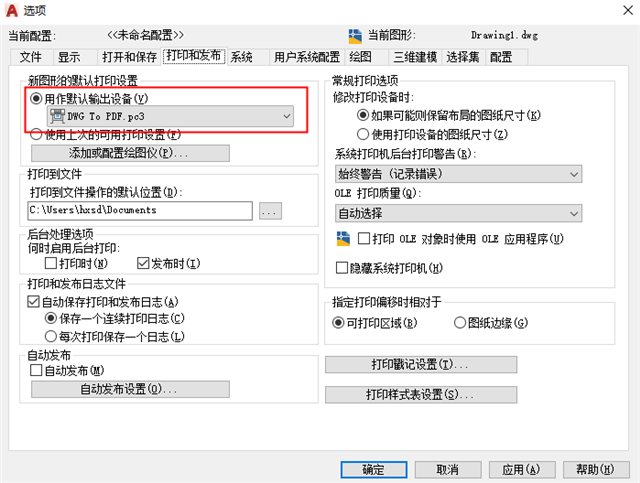
点击【打印和发布】,并把新图的默认打印设置 调整为“DWG To PDF.pc3”
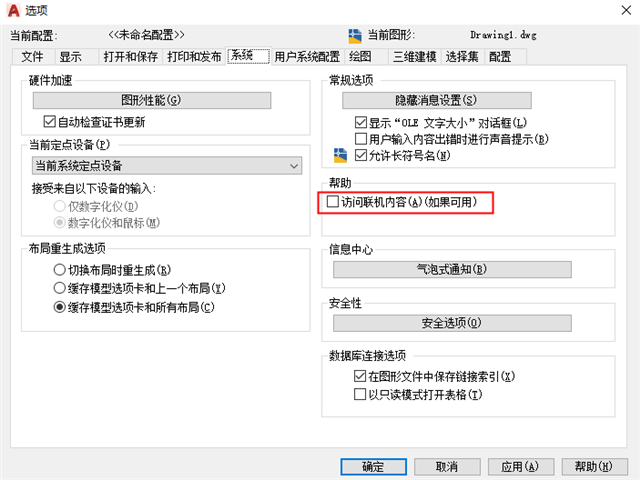
点击【系统】,并把访问联机内容,取消勾选
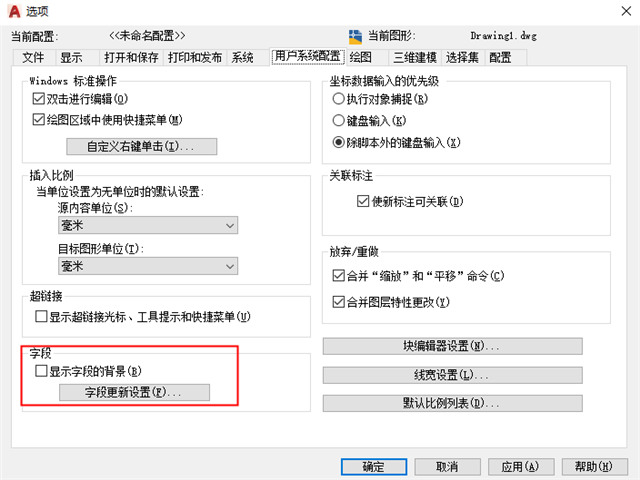
点击【用户系统配置】,并把显示字段的背景,取消勾选
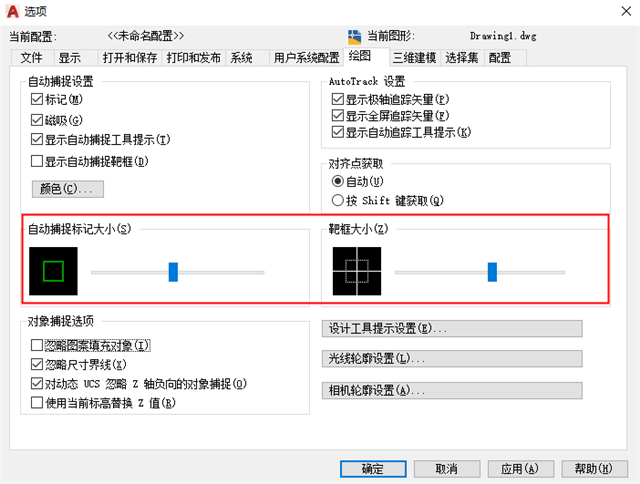
点击【绘图】,并把自动捕捉标记大小、靶框大小,调整到50%-70%
点击【三维建模】,并把在视口中显示工具,取消勾选

点击【选择集】,并把拾取框大小、夹点尺寸,调整到50%-70%

点击【配置】,并点击确定

【2设】
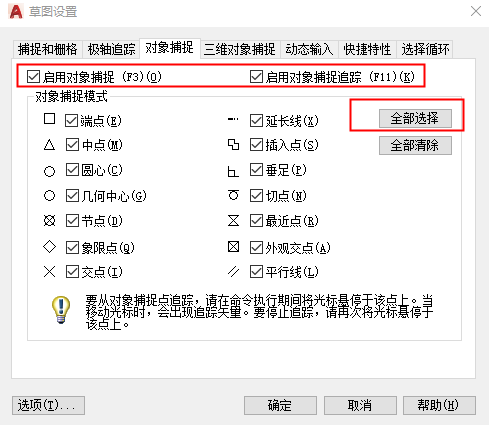
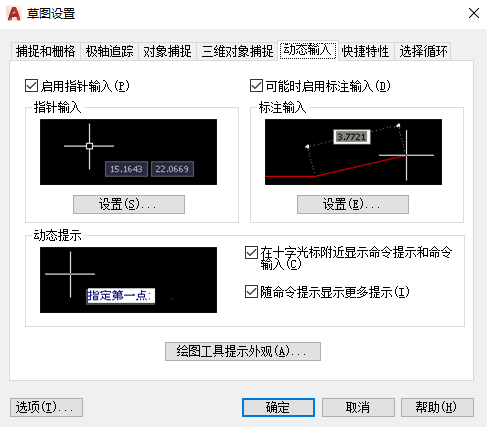
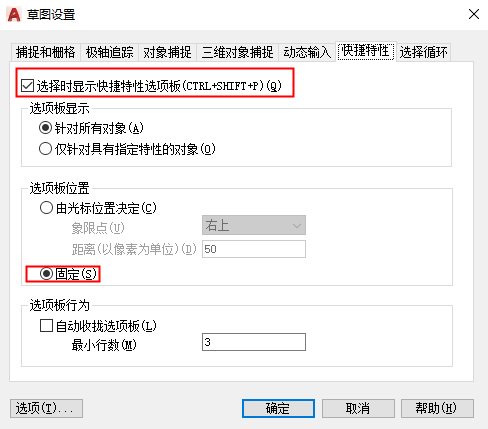
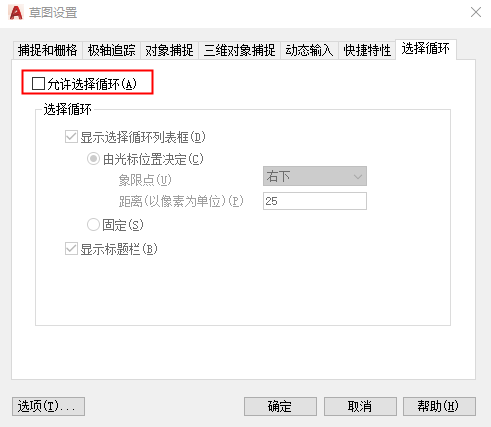
DS草图设置(保证英文输入法,输入DS,按空格确定),口诀: 关 开 开 关 开 开 关
点击【捕捉和栅格】,并点击启用捕捉、启用栅格,进行取消勾选 “关”

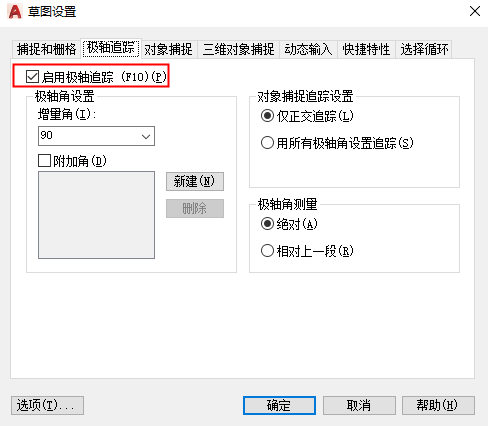
点击【极轴追踪】,并点击极轴追踪,进行勾选 “开”
点击【对象捕捉】,勾选启用对象捕捉、启用对象捕捉追踪,并点击全部选择 “开”
点击【三维对象捕捉】,点击启用三维对象捕捉,进行取消勾选“关”

点击【动态输入】,点击启用指针输入、可能时启用标注输入,进行勾选“开”
点击【快捷特性】,点击选择时显示快捷特性选项板、固定,进行勾选“开”
点击【选择循环】,点击允许选择循环取消勾选,并确定“关”
【3设】
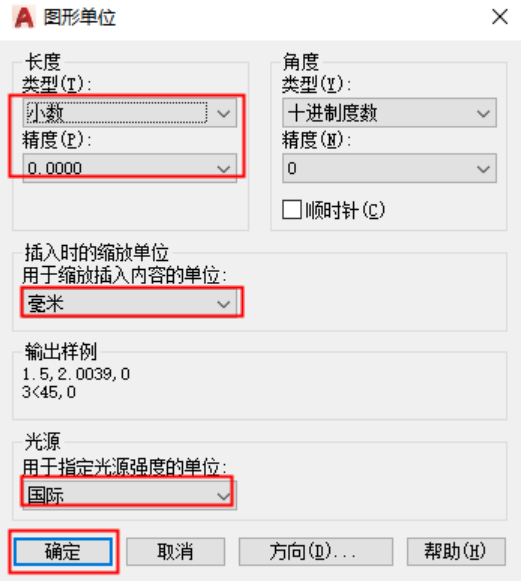
UN图形单位(保证英文输入法,输入UN,按空格确定)
检查类型、单位、光源,即可
02. 两步一关
当我们设置好绘图环境的时候,我们开始设置样板文件
【1步】菜单栏—点击《大A图标》-移动鼠标至《另存为》—待弹出《图形样板》时,点击鼠标左键
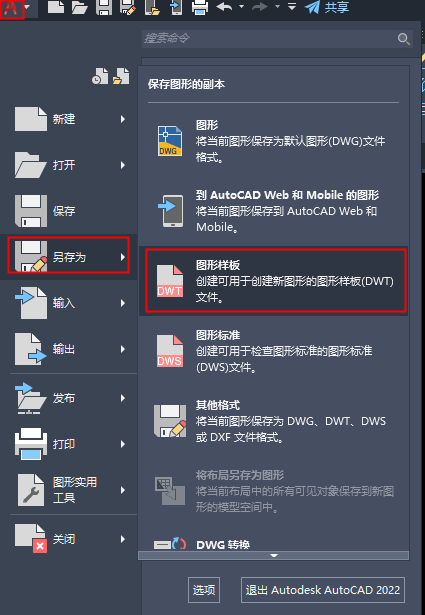
点击文件名输入样板文件的名字,点击保存

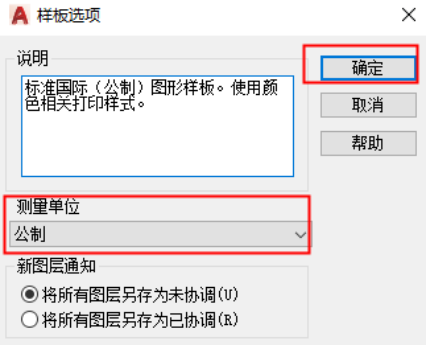
按照提示,检查《测量单位:公制》点击《确定》
【2步】OP选项设置(保证英文输入法,输入OP,按空格确定)
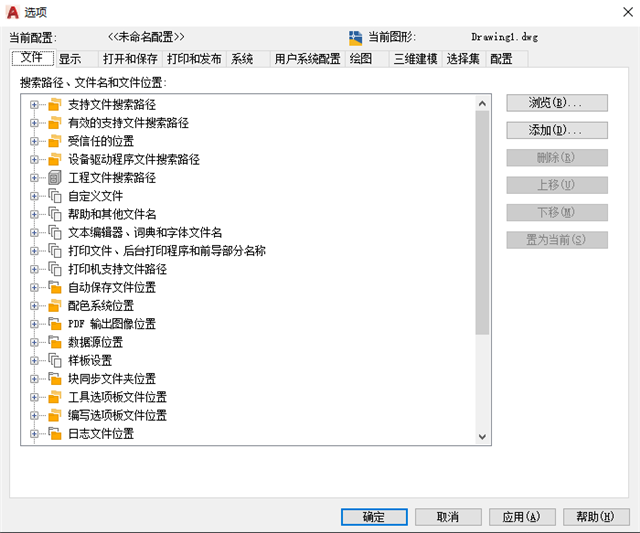
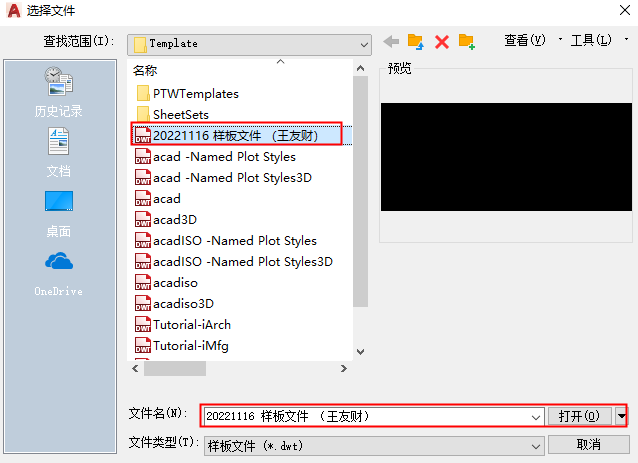
点击【文件】,点击样板设置、快速新建的默认样板文件名,双击“无”
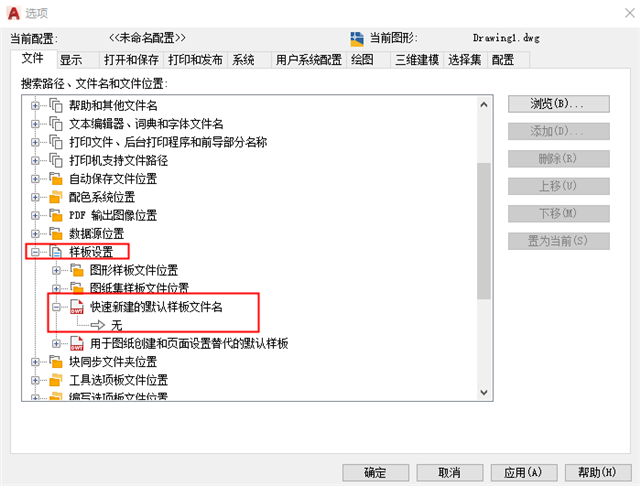
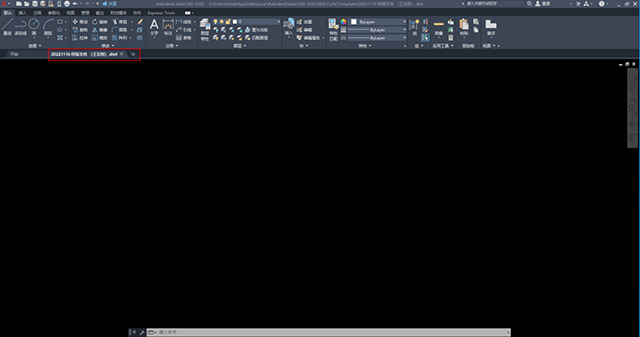
点击设置好的样板文件,点击“保存”
【1关】切忌:不做任何操作,关闭当前的DWT的样板文件
以上就是全部的绘图环境设置和样板文件的设置,伙伴们学会了吗?