在后期制作中,将昏暗的室内照片调整为充满小清新风格的作品,是一种既富有挑战又充满乐趣的创作过程。利用Photoshop这一强大的工具,我们可以通过精细的调色技巧,把原本压抑或平淡无奇的室内空间转化为一个明亮、温馨且充满生机的场所。这一过程首先从调整曝光和亮度开始,以确保照片中的每个角落都能被适当照亮,摆脱原有的昏暗感。
接着,通过微调色温来增加温馨感,例如增加一点黄色或粉色,让整个空间显得更加温暖和邀请。色彩的饱和度和对比度的细微调整也至关重要,它们可以帮助营造出轻松愉悦的氛围。此外,通过巧妙地使用滤镜效果和增强特定细节,如软化皮肤、增亮眼睛,可以进一步提升照片的小清新感觉。通过这些技巧的应用,即使是在最不起眼的室内环境中,也能创造出让人感到舒适和快乐的美妙瞬间。
ps昏暗室内照调出小清新效果方法步骤
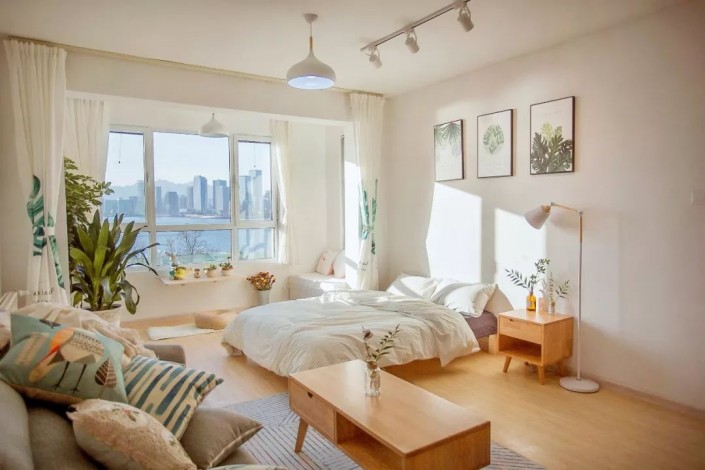
效果图:
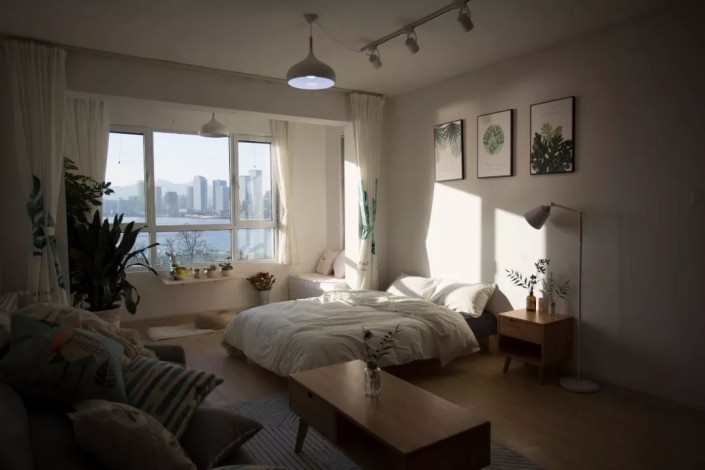
原图:
操作步骤
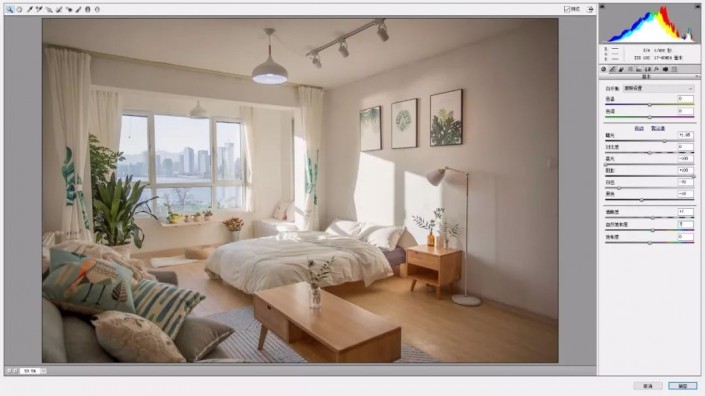
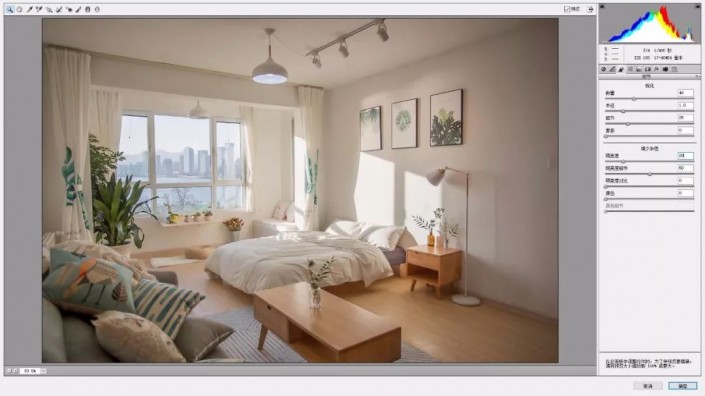
1.打开PS,导入原图,【Ctrl+J】复制图层,选择【Camera RAW滤镜】,点击【基本】调整参数为:曝光+1.65,高光-100,阴影+100,白色-70,黑色-18,清晰度+7,自然饱和度+7。具体效果如图所示。
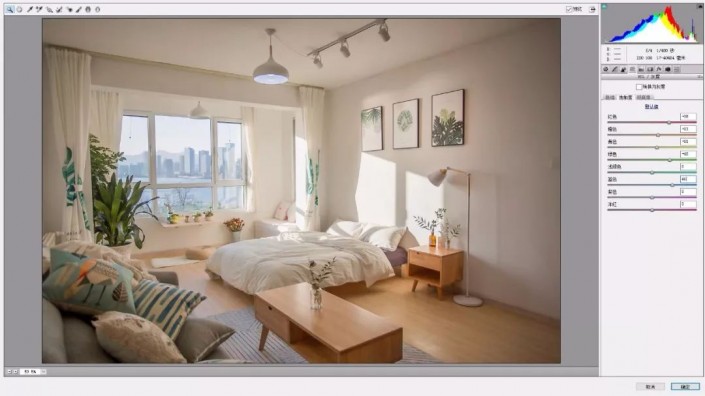
2.选择【细节】调整参数:锐化数量48,减少杂色:【明亮度】+20。选择【HSL/灰度】饱和度【红色】+38【橙色】+13【黄色】+11【绿色】+40,【蓝色】+46。明亮度【红色】+7【橙色】+23,【黄色】+18【绿色】+24,【蓝色】-21。

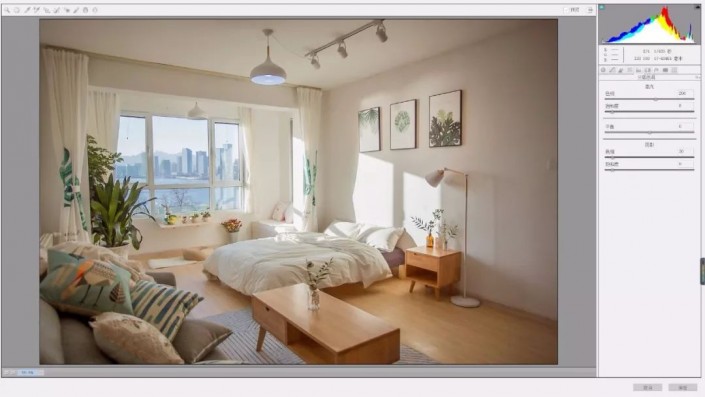
3.点击【分离色调】,调整参数高光【色相】206,【饱和度】8,阴影【色相】30,【饱和度】8,具体效果如图所示。
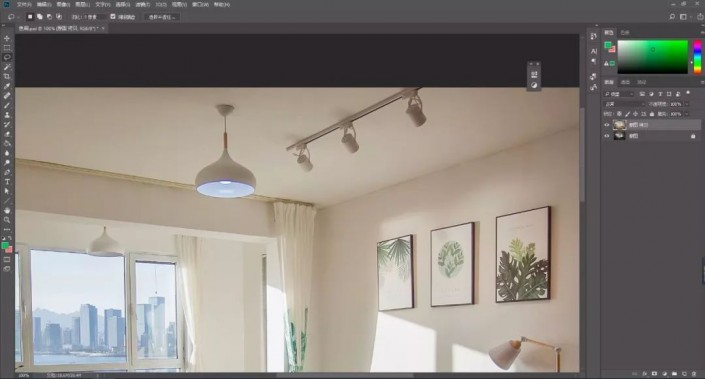
4.完成后,点击确定,选择【快速修复工具】及【仿制图章工具】进行修复图片,具体效果如图所示。

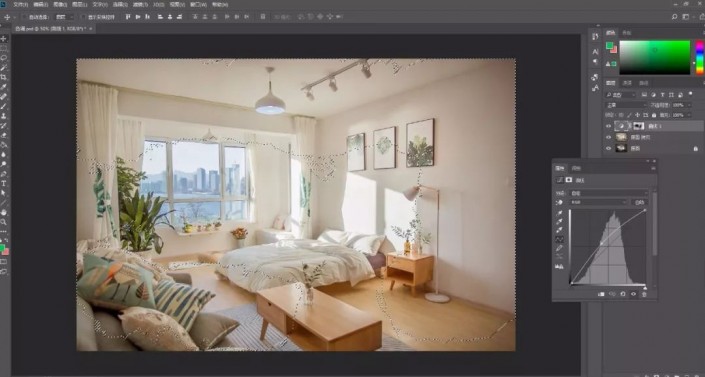
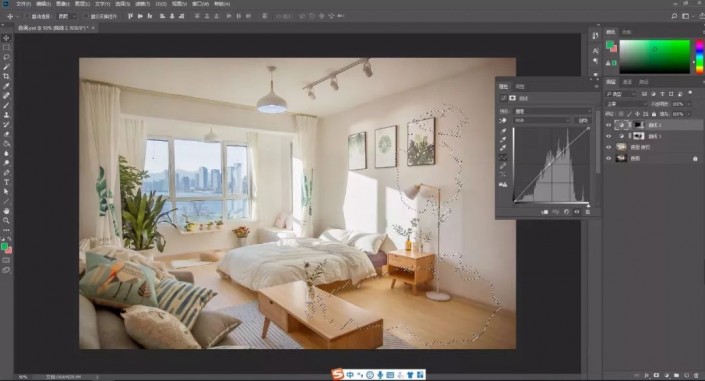
5.添加【曲线】调整图层,【ctrl+i】反向蒙版,选择【画笔工具】,调整画笔【不透明度】为21%,【流量】23%,然后再添加一个【曲线】调整图层,重复一次,具体效果如图所示。
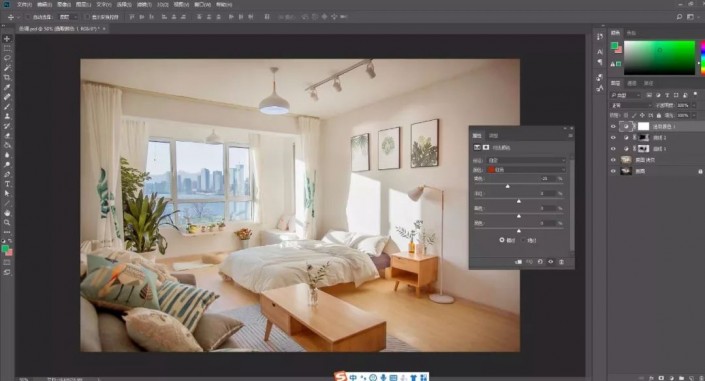
6.添加【可选颜色】调整图层,调整参数红色【青色】-25%,黄色【青色】-24%,【洋红】-8%,黑色【黑色】+7%,具体效果如图所示。


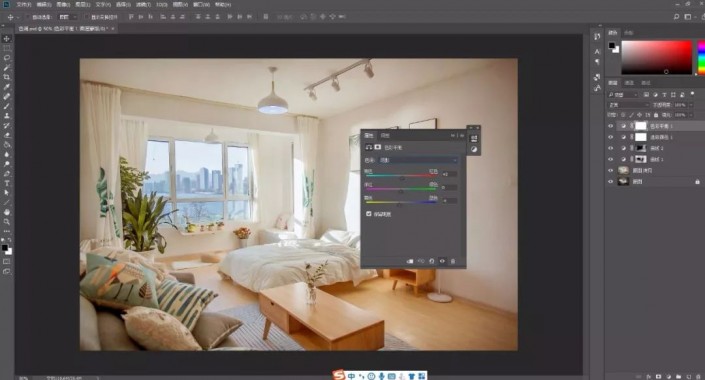
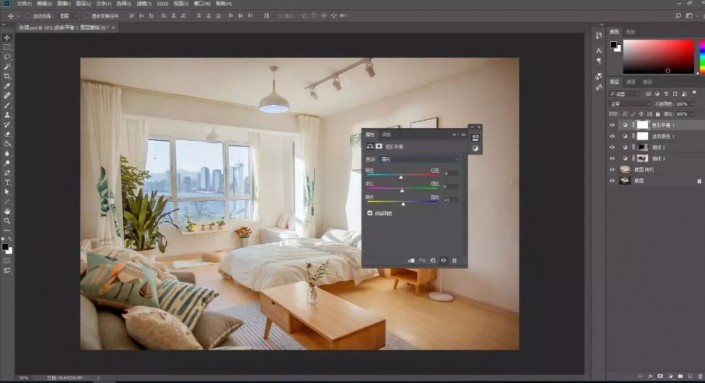
7.添加【色彩平衡】调整图层,调整参数阴影【红色】+3,【黄色】-4,高光【青色】-3,【蓝色】+3,具体效果如图所示。
完成:
一经调色整个色调就明亮了很多,像我们在网上或者杂志上见到的那些明亮的家居照片也是这么调出来的,同学们根据教程来学习一下吧。