在Photoshop中调整外景婚纱照以营造出质感唯美的效果,是一项提升照片视觉冲击力的艺术行为。这一过程不仅仅是关于色彩的调整,更是对光影、纹理和情感的精细打磨。利用专业的编辑技巧,如色彩分级、对比度增强以及细节锐化,可以显著提升照片的艺术质感,让每一张婚纱照都散发出独特的唯美气质。
无论是阳光下的自然光线还是柔和的黄昏,都能通过精心的调整,使之成为增强照片情绪和氛围的重要元素。本文将探讨如何运用Photoshop中的高级工具和技巧,为那些追求完美婚纱照的新人打造出如梦似幻的质感唯美画面。
ps外景婚纱照调出质感唯美效果方法步骤
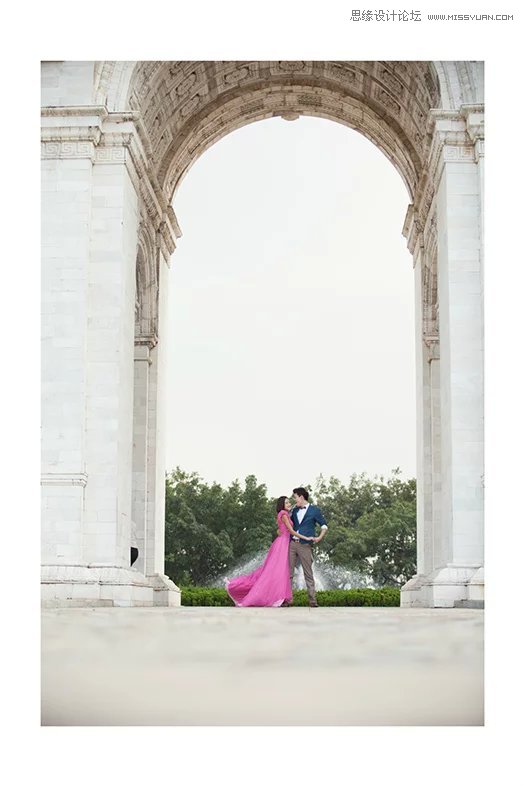
效果图:

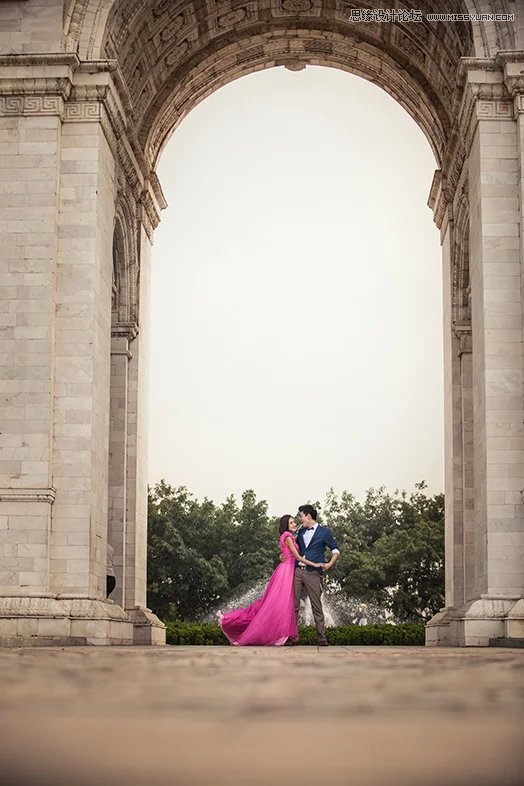
原图:
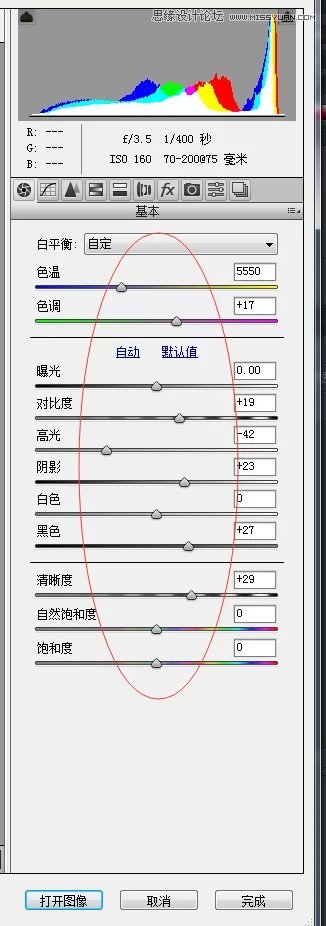
1、好我们接下来实战操作,看下那些步奏非常重要,OK我们开始处理图片进入CameraRaw滤镜请看参数。

2、我们看下这个时候有用到最关键的一点,径向滤镜画笔


3、我们看下整体的 建筑质感非常薄弱,我们需要用到这个工具一次性把他层次质感做好,来试试
4、注意画笔参数,一步我们就把我们需要的层次给做好了,就这么简单
5、OK调整好的JPG图片已经从滤镜里面出来,我们看下层次好了但是整体看下有些闷和脏。
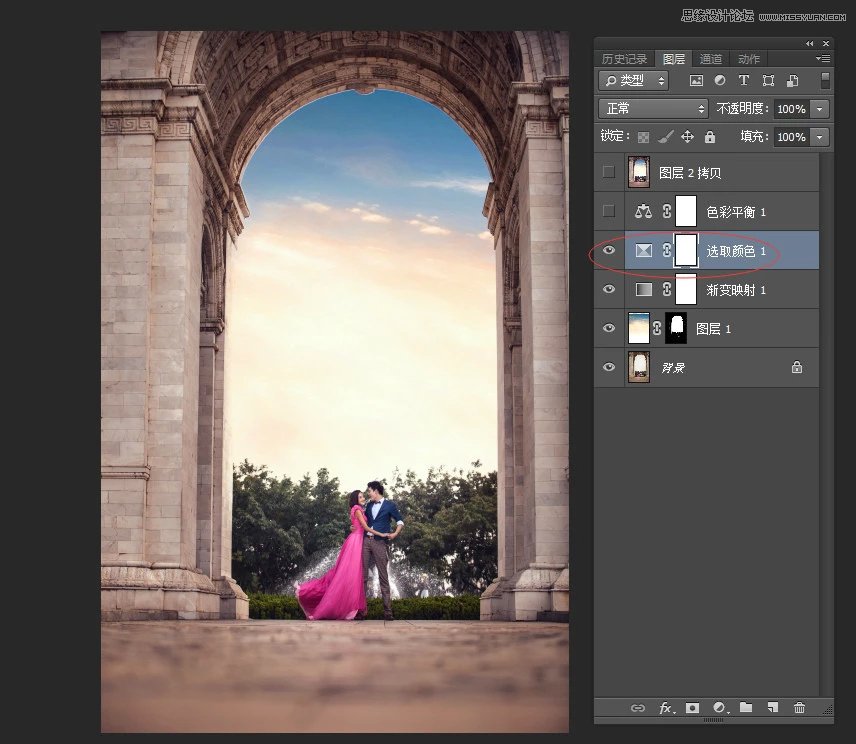
6、好我们用PS里的一些命令快速的解决,首先给空缺部分加上一个适合的云彩。

7、接着用渐变映射,黑白渐变,看参数整体让颜色浓度减一些、干净一些和加点小对比。

8、用可选颜色对整体色彩进行调整,我们看下参数,无非是对肤色和黑白灰做了整体的调整


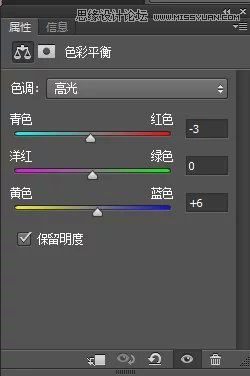
9、如效果图,到这步其实差不多了是吧,最后我们整体的用色彩平衡调整高光色彩让整体干净一些

10、其实有认真看过我全部课程的方法都很简单,就那么几步就出大片了,如图
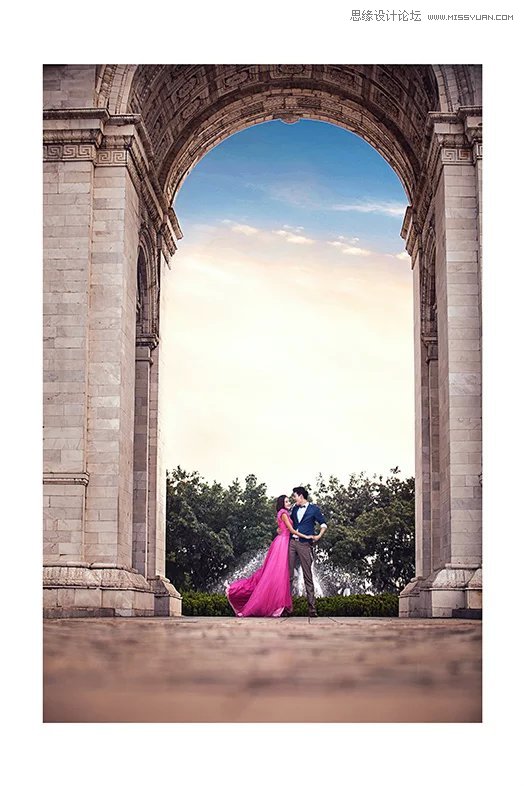
11、最后加点对比加点锐化,加上自己喜欢的文字达到效果